
Art Studio Organization: From Cluttered Chaos to Creative Oasis
Hi friends! If you're anything like me, then you know the struggles of keeping your art studio organized. As a mixed media and textile artist, I often find myself lost in the creative process and before I know it, my workspace has turned into a chaotic mess. But, with time, patience and creative problem solving, I've found ways to keep my space organized, and I'm excited to share my tips with you in this blog series.
In my own experience, I find that taking the time to declutter and organize my space every now and then helps me stay focused and inspired. I wish I could say I do this on a regular basis, but the reality looks more like this: when there are piles everywhere and I no longer have table top space to keep working, I know that it’s time to purge and reorganize.
As discouraging as it may sound, it's important to remember that organizing your art studio is not a one-time event. It's an ongoing process that requires regular maintenance and adjustments. As an artist, you're constantly creating new things and experimenting with different mediums, so your organizational needs will change over time.
keep scrolling for a video walk thru tour!

Everyone's organizational style is different, and that’s OKAY! What works for me may not work for you. The key is to find a system that works for you and your creative process. Don't be afraid to experiment and try new things until you find what works best. The most crucial aspect is that your organizational approach should be effective for you, even if it may not necessarily make sense to others.
Moreover, I want to stress that my organizational system is constantly evolving. While I strive to assign everything a designated spot, the location of items in my studio is subject to change. As I explore different creative phases and utilize various materials, I aim to keep the supplies I use most frequently within arm's reach. Some items may be limited to specific areas, but overall, the organizational structure and container choices are flexible and subject to revision.
I want to encourage you to not let the absence of fancy or aesthetically pleasing organizational storage solutions deter you from embarking on your organizational journey. Instead, take the time to experiment and become familiar with your workspace before investing in any storage solutions. Although it may seem disordered initially, this approach can save you from purchasing containers that ultimately do not meet your needs. In my personal experience, I made use of cardboard boxes that I cut and modified to suit my requirements. Additionally, a great and inexpensive place to search for storage options is the dollar store. They often have a variety of sizes and styles available to choose from. It's important to note that this series emphasizes how I chose to organize everything rather than the specific products I used.
It's important to recognize that just because something has worked in the past, it may not be the most suitable solution for your present needs. If you're feeling uninspired by your materials, it might be time to switch things up and restructure your workspace to better suit your current requirements.
In this ongoing series I plan to cover a variety of topics: papers, embellishments, fabrics, paints, mark making and writing supplies, and of course all those miscellaneous items.
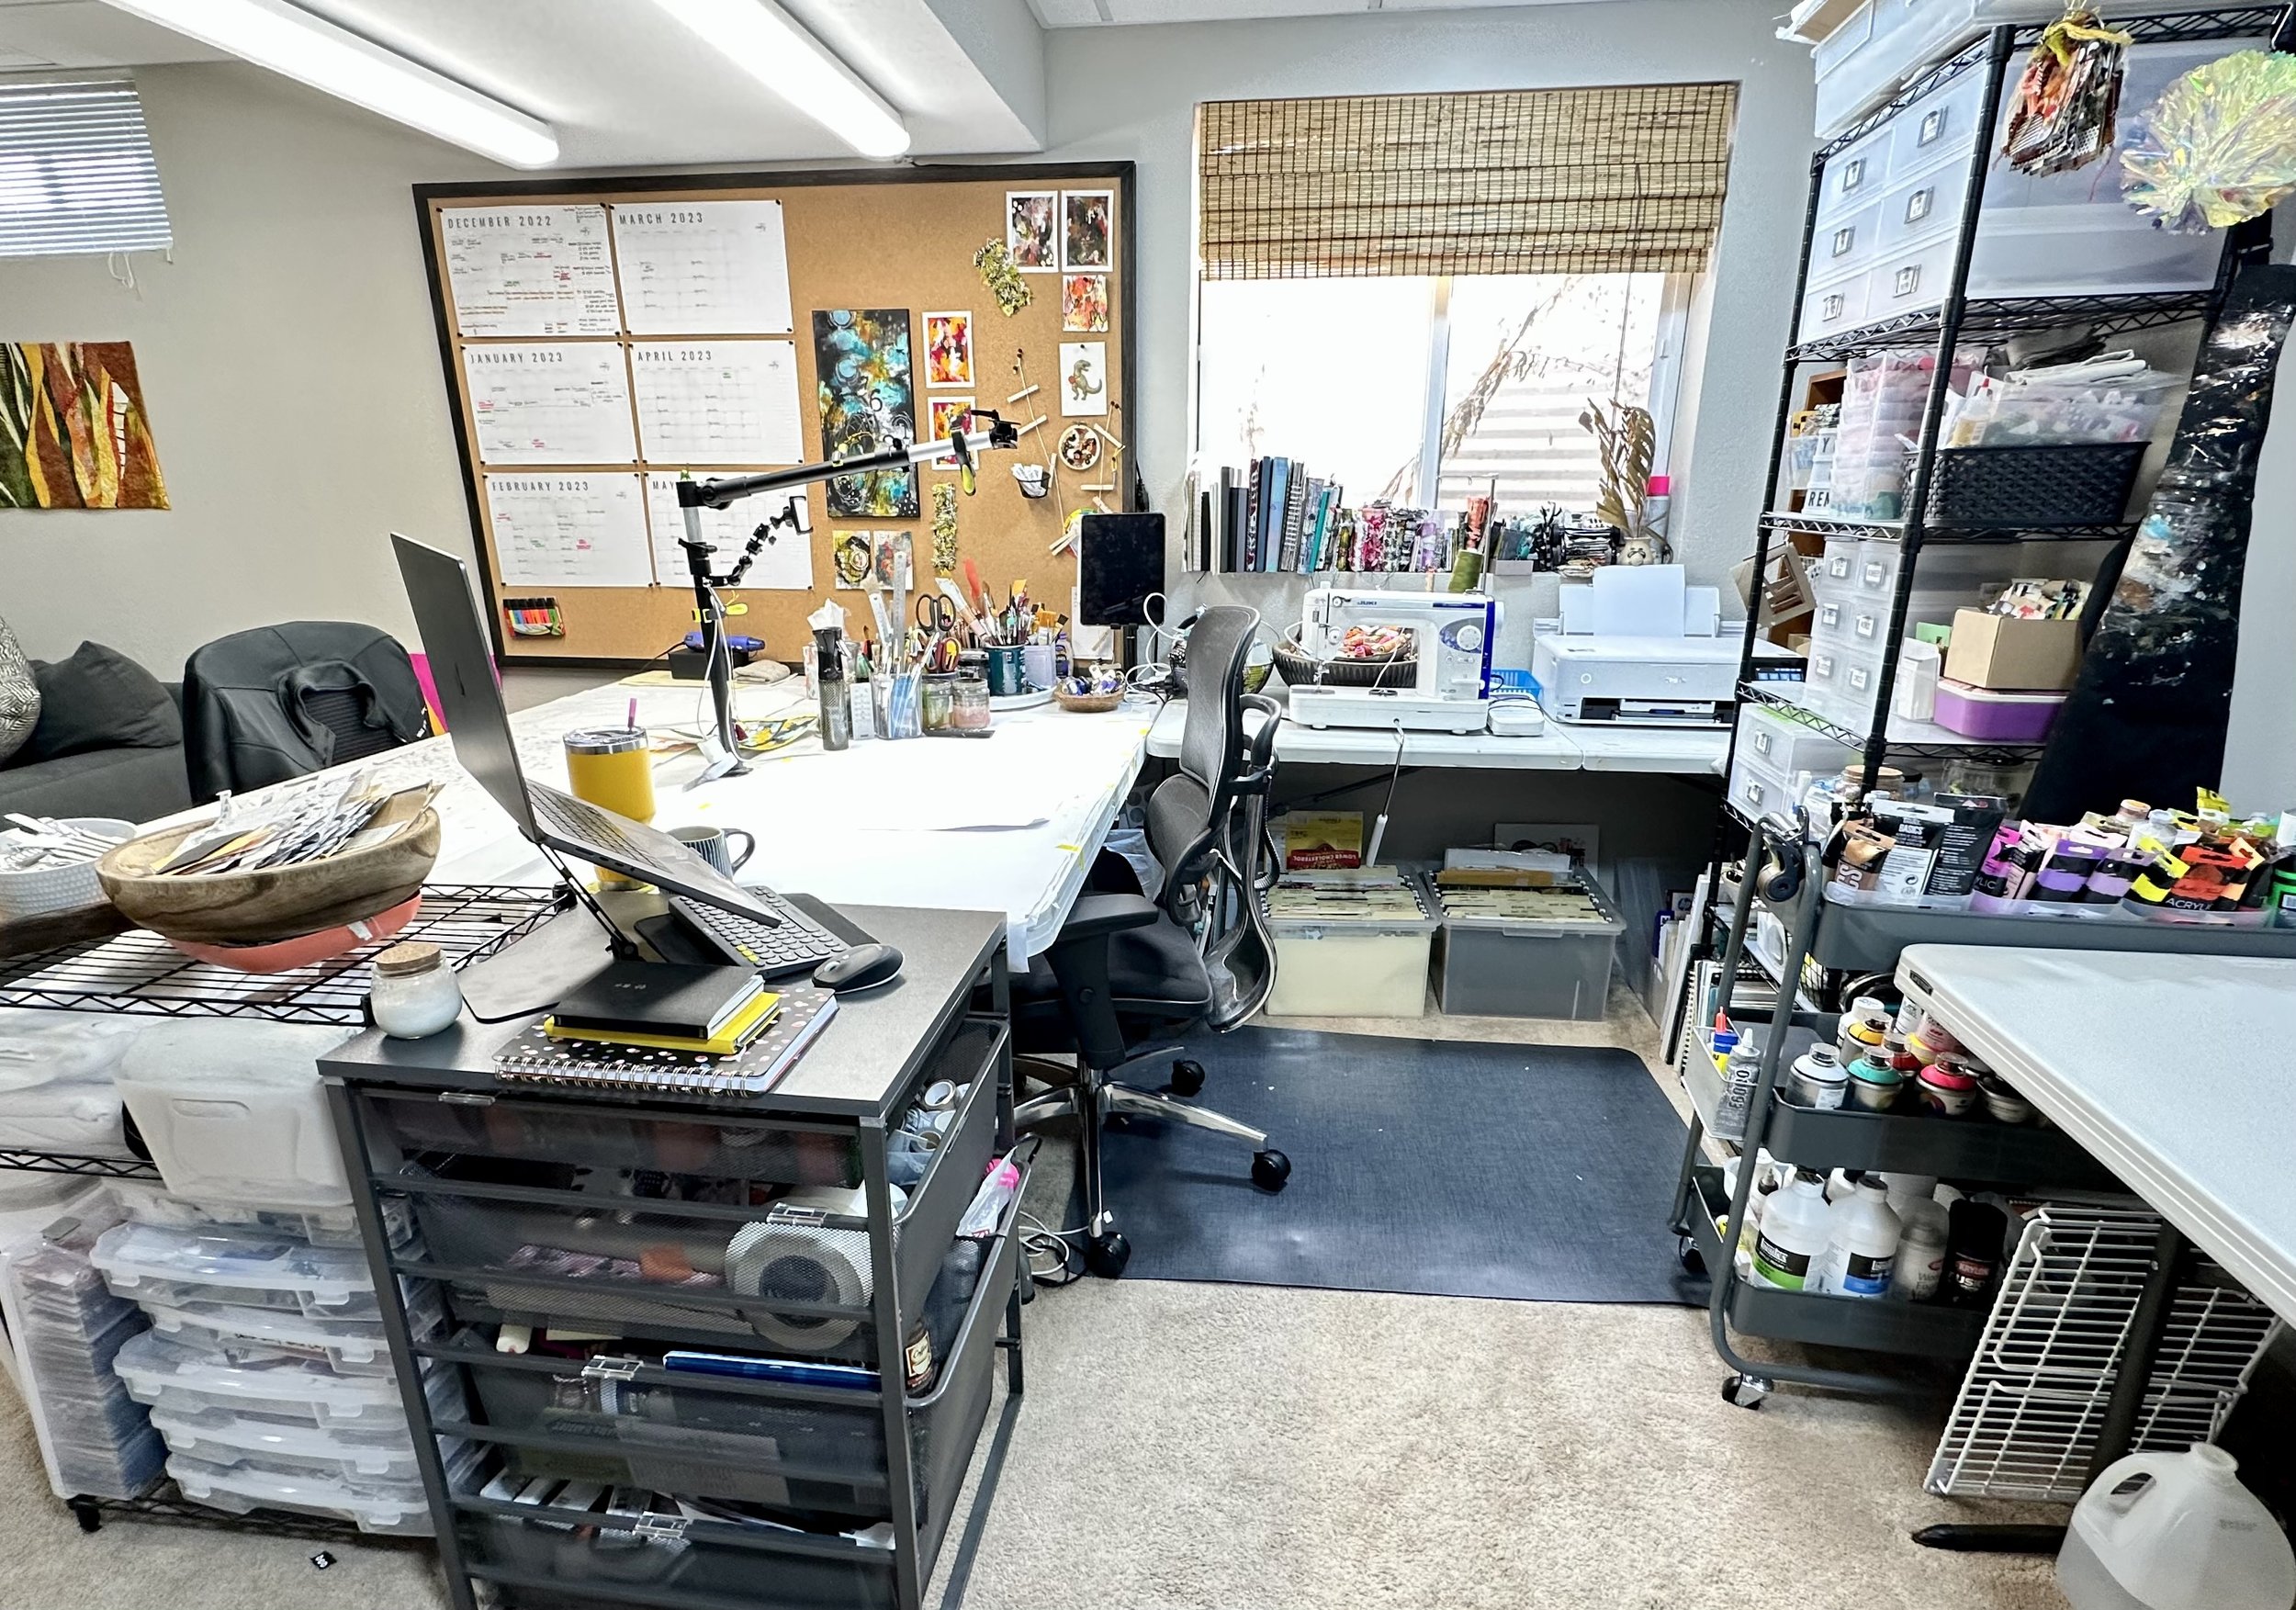
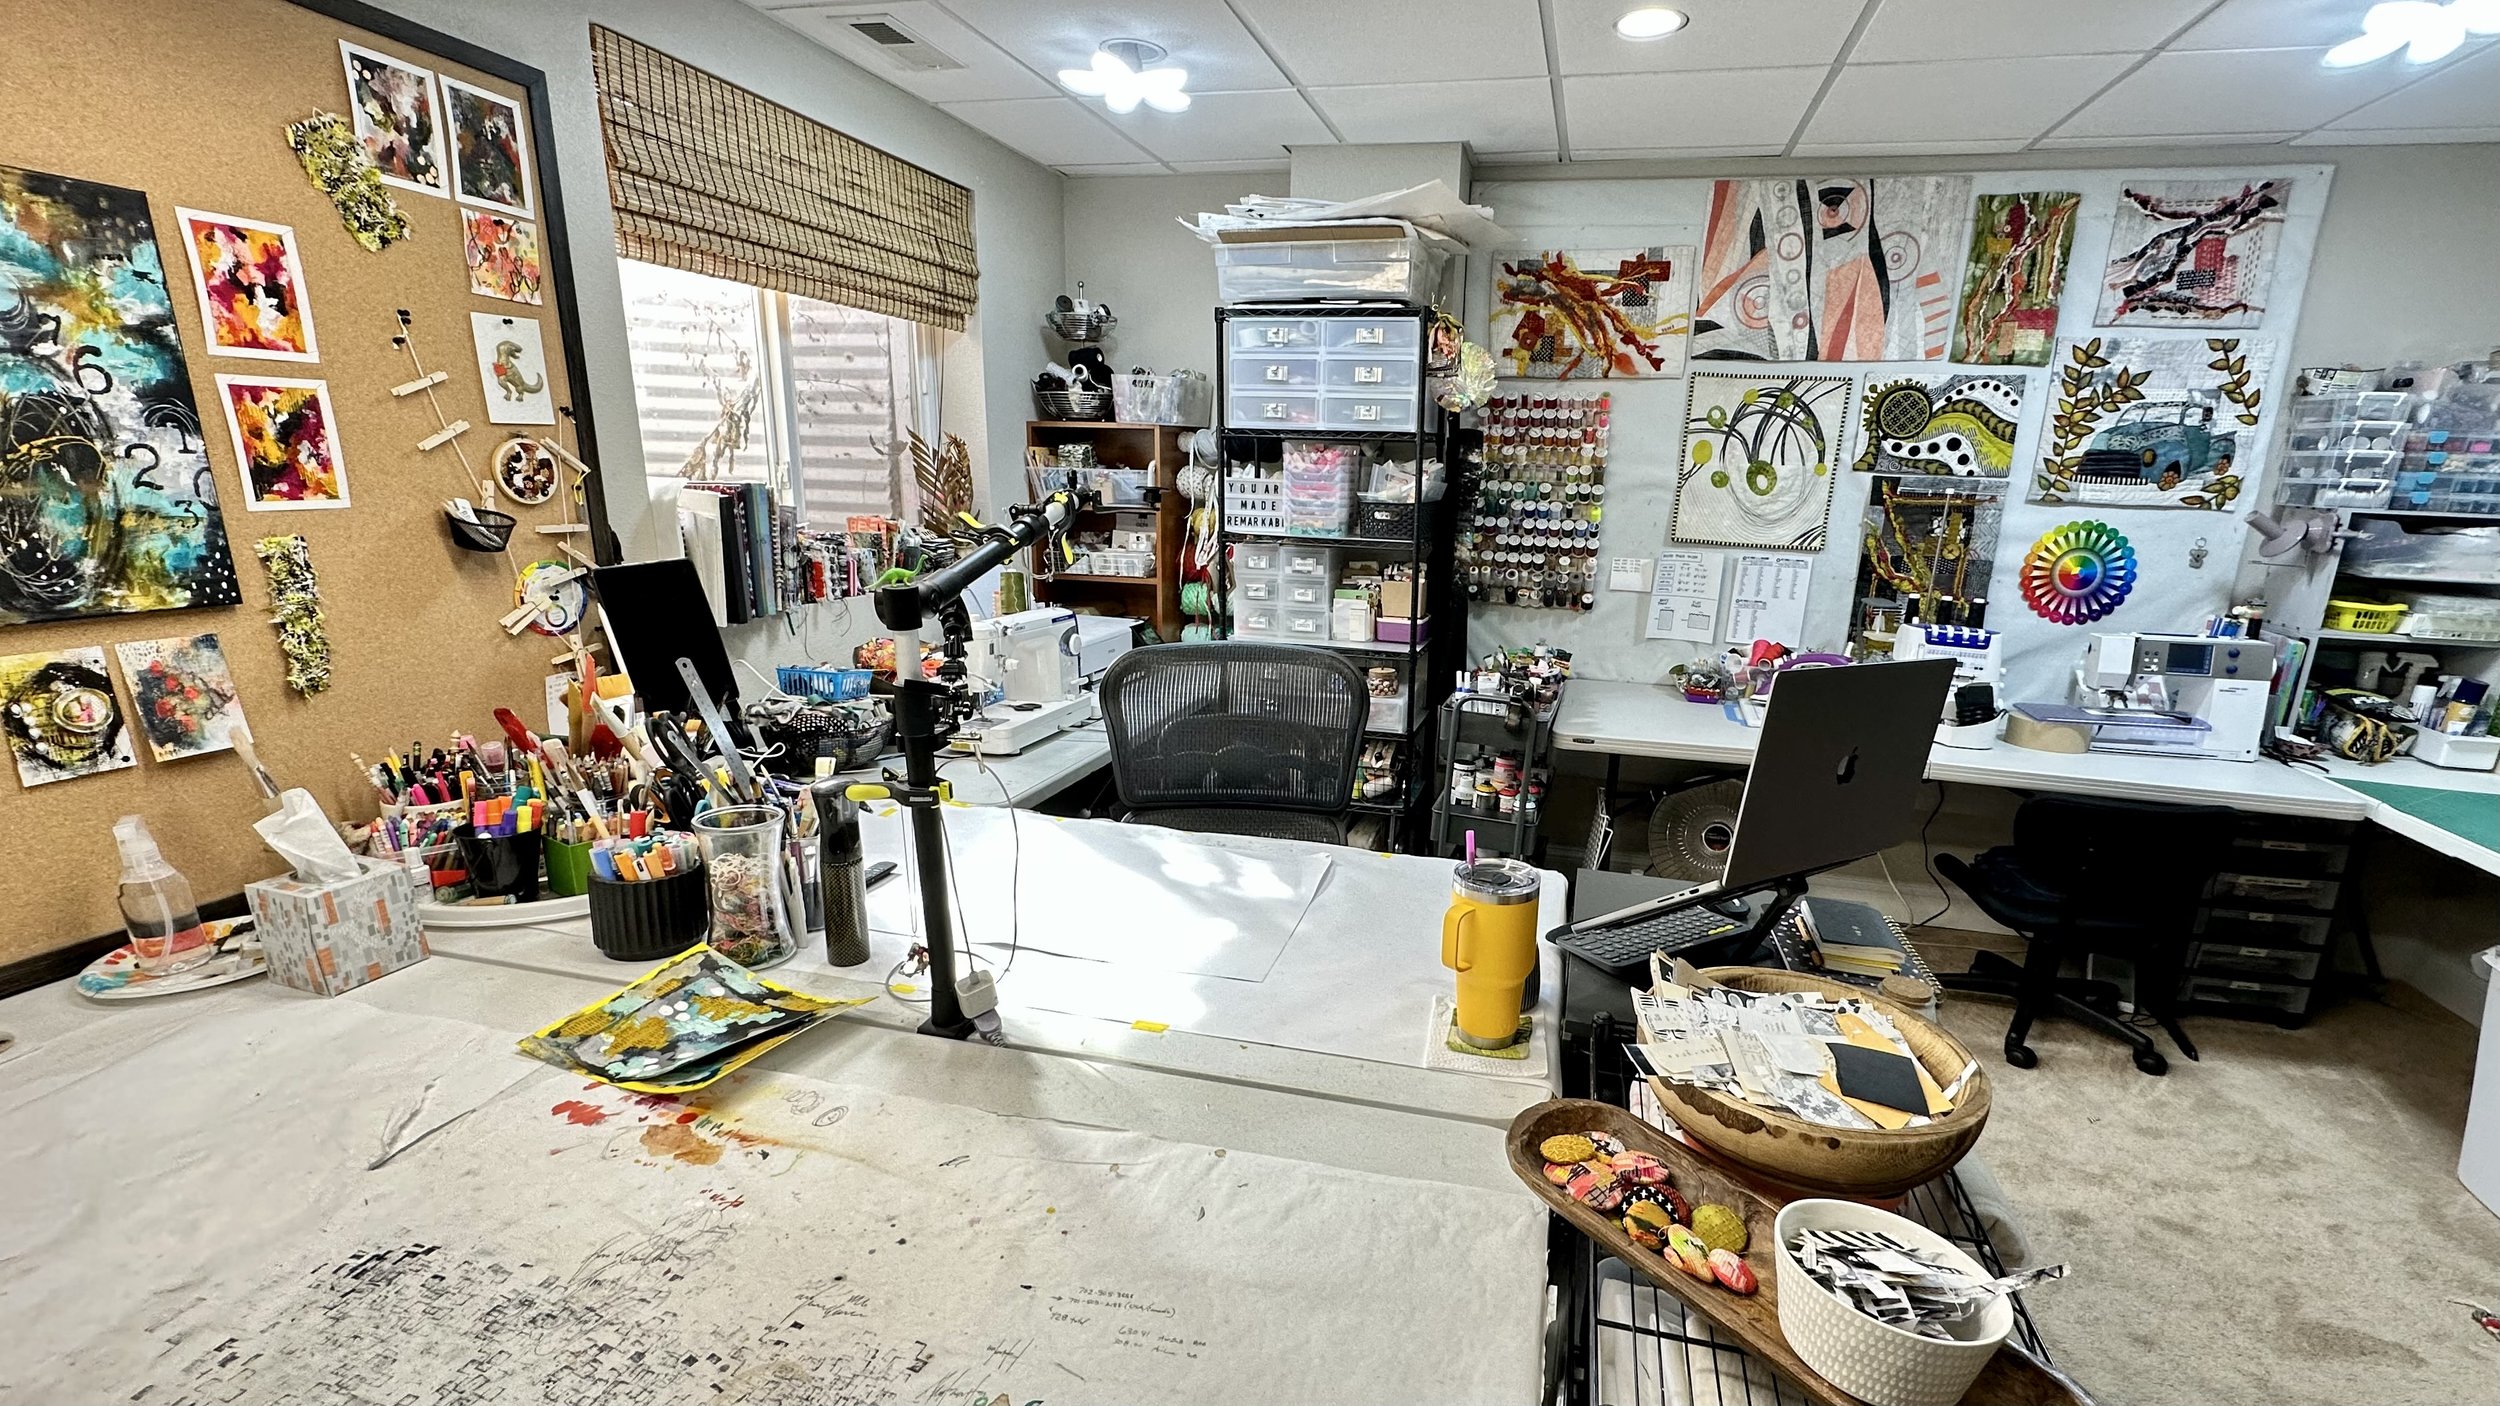
Take a closer look, and walk thru my studio with me!
Don’t worry, not every post will be this wordy or lengthy - I’ll be showing more in depth photos and videos on specific areas in the upcoming posts.

The first post is up now! Click here to learn how to sort, organize, and store your papers!
