
Art Studio Organization: Taming Your Embellishment Collection
Hi friends and fellow art journaling enthusiasts! Do you ever find yourself buried under a mountain of embellishments? I know I do! It can be tough to keep all those little bits and pieces organized and at your fingertips when inspiration strikes. In this post, I want to share with you the details of how I organize my embellishments. Let's take a peek inside my studio and see how I keep all those pre-made pieces and ingredients neat and tidy.
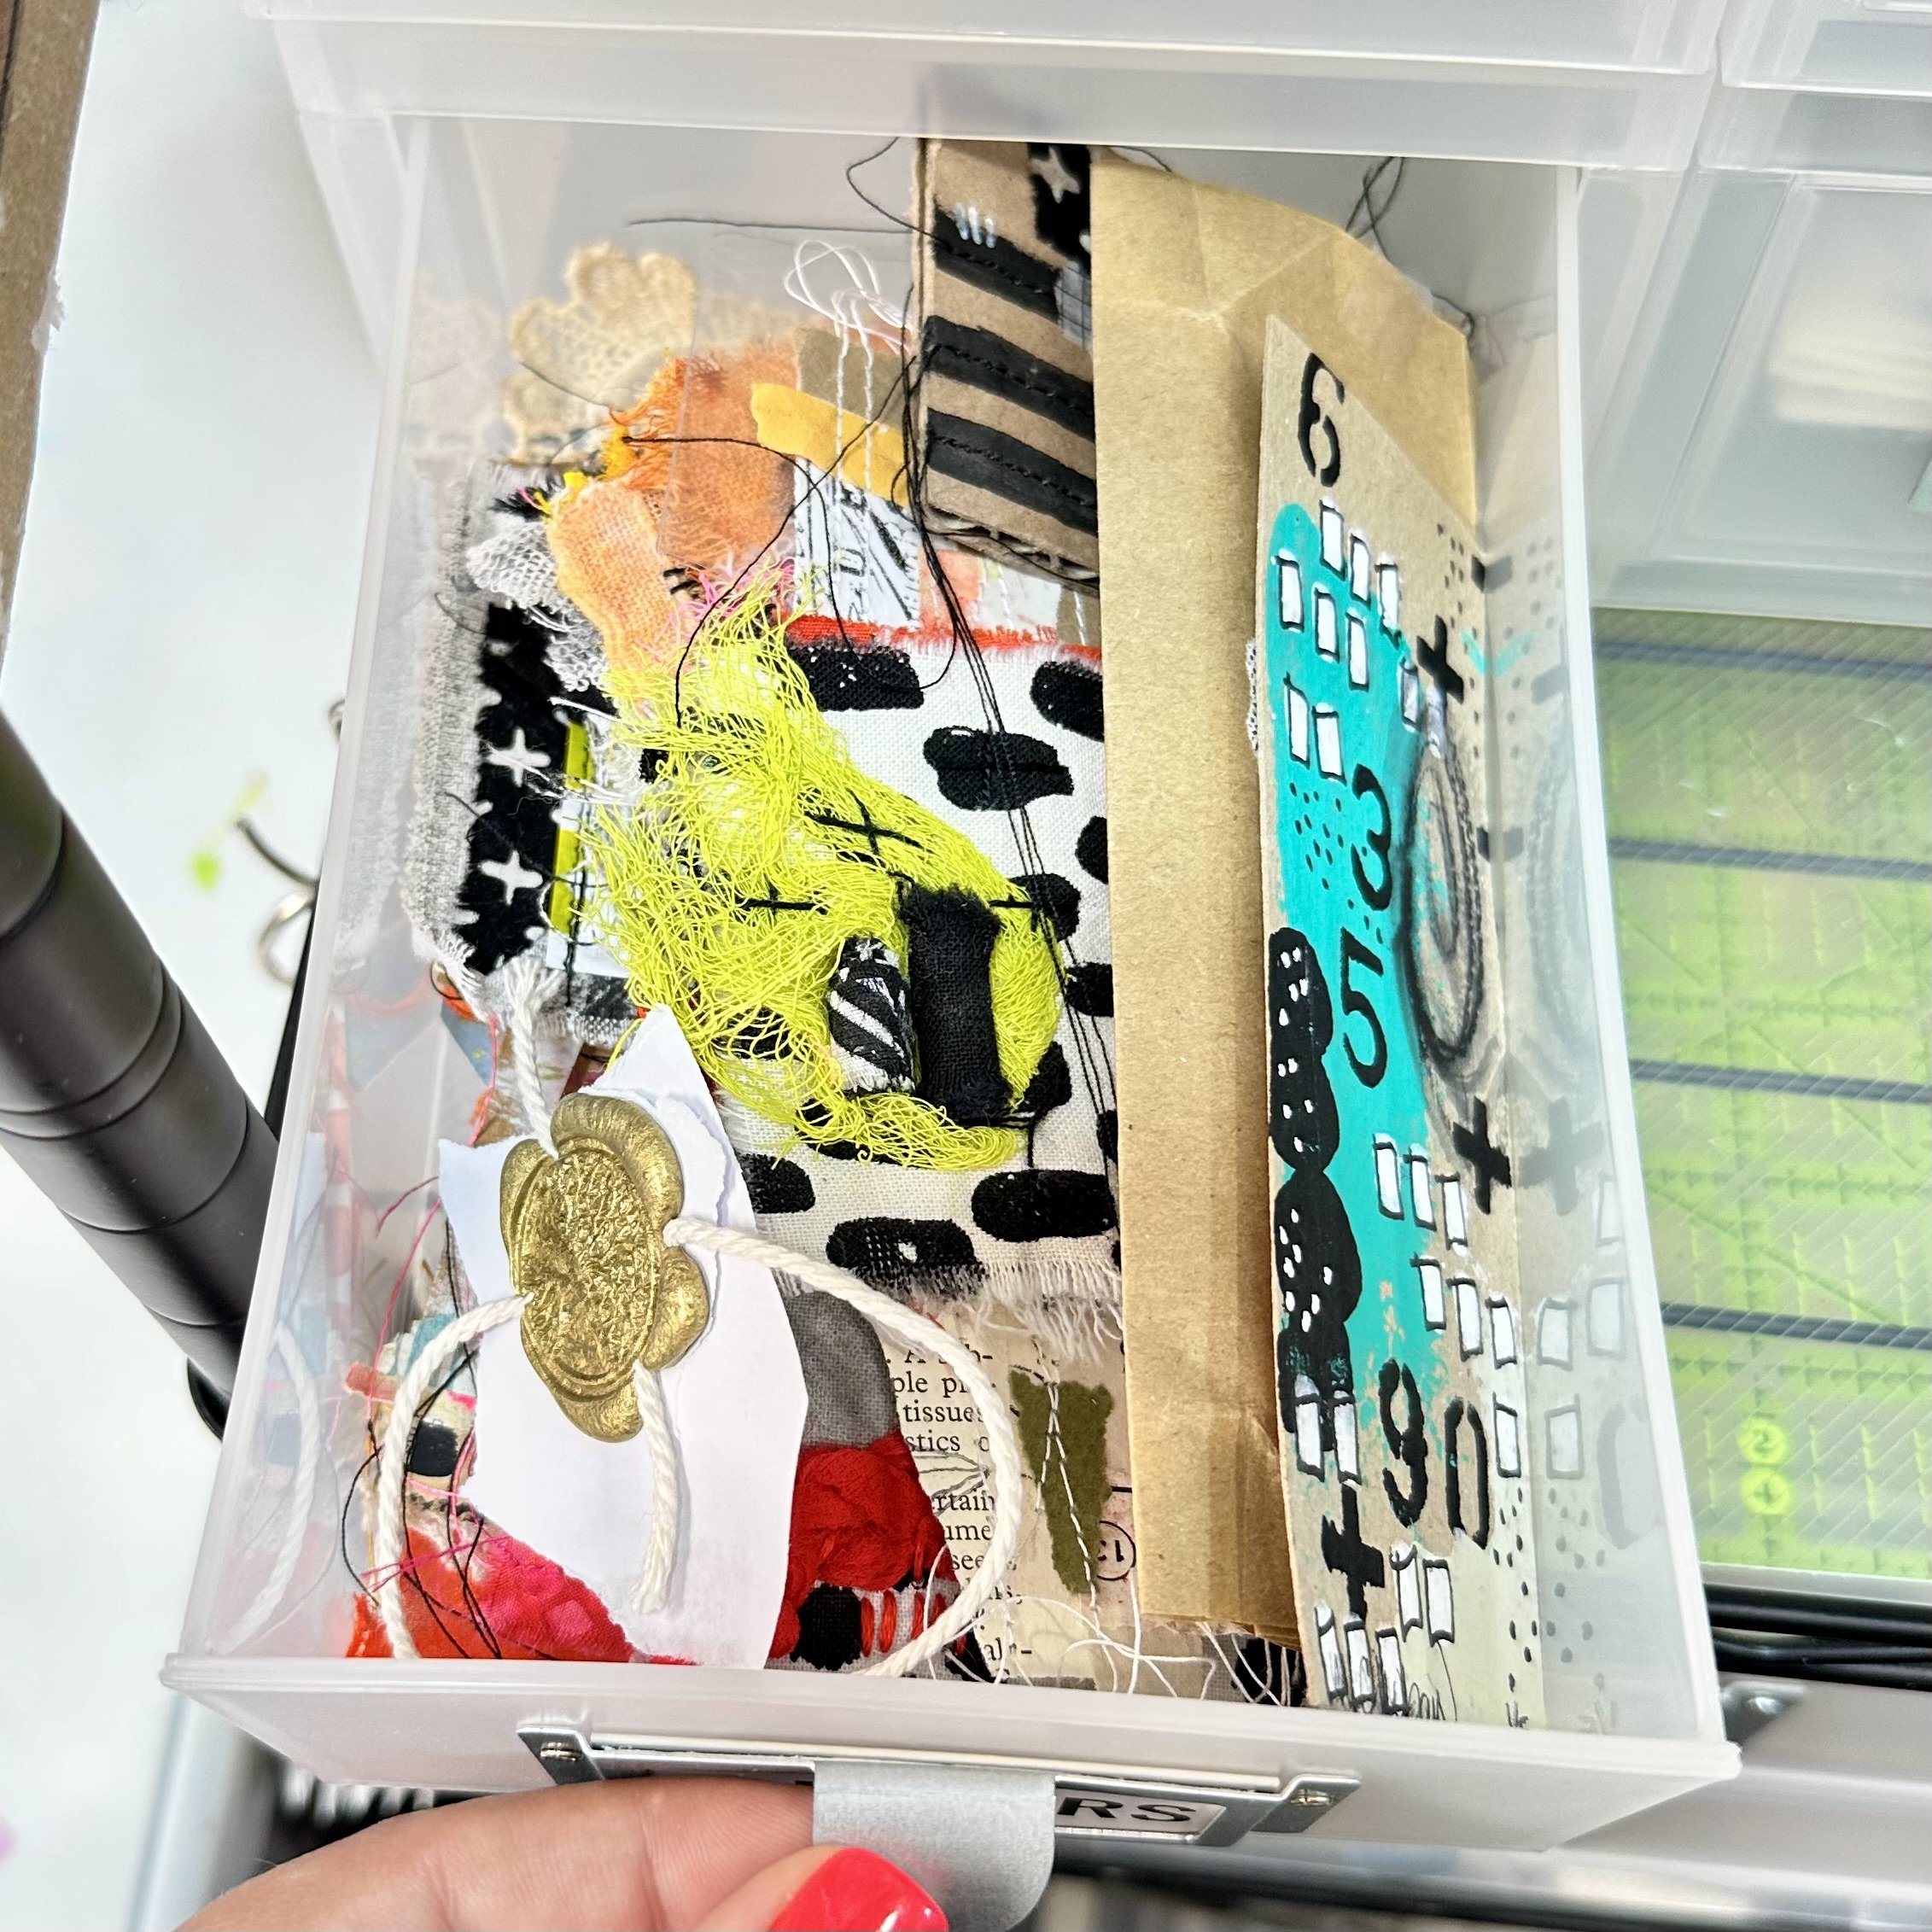
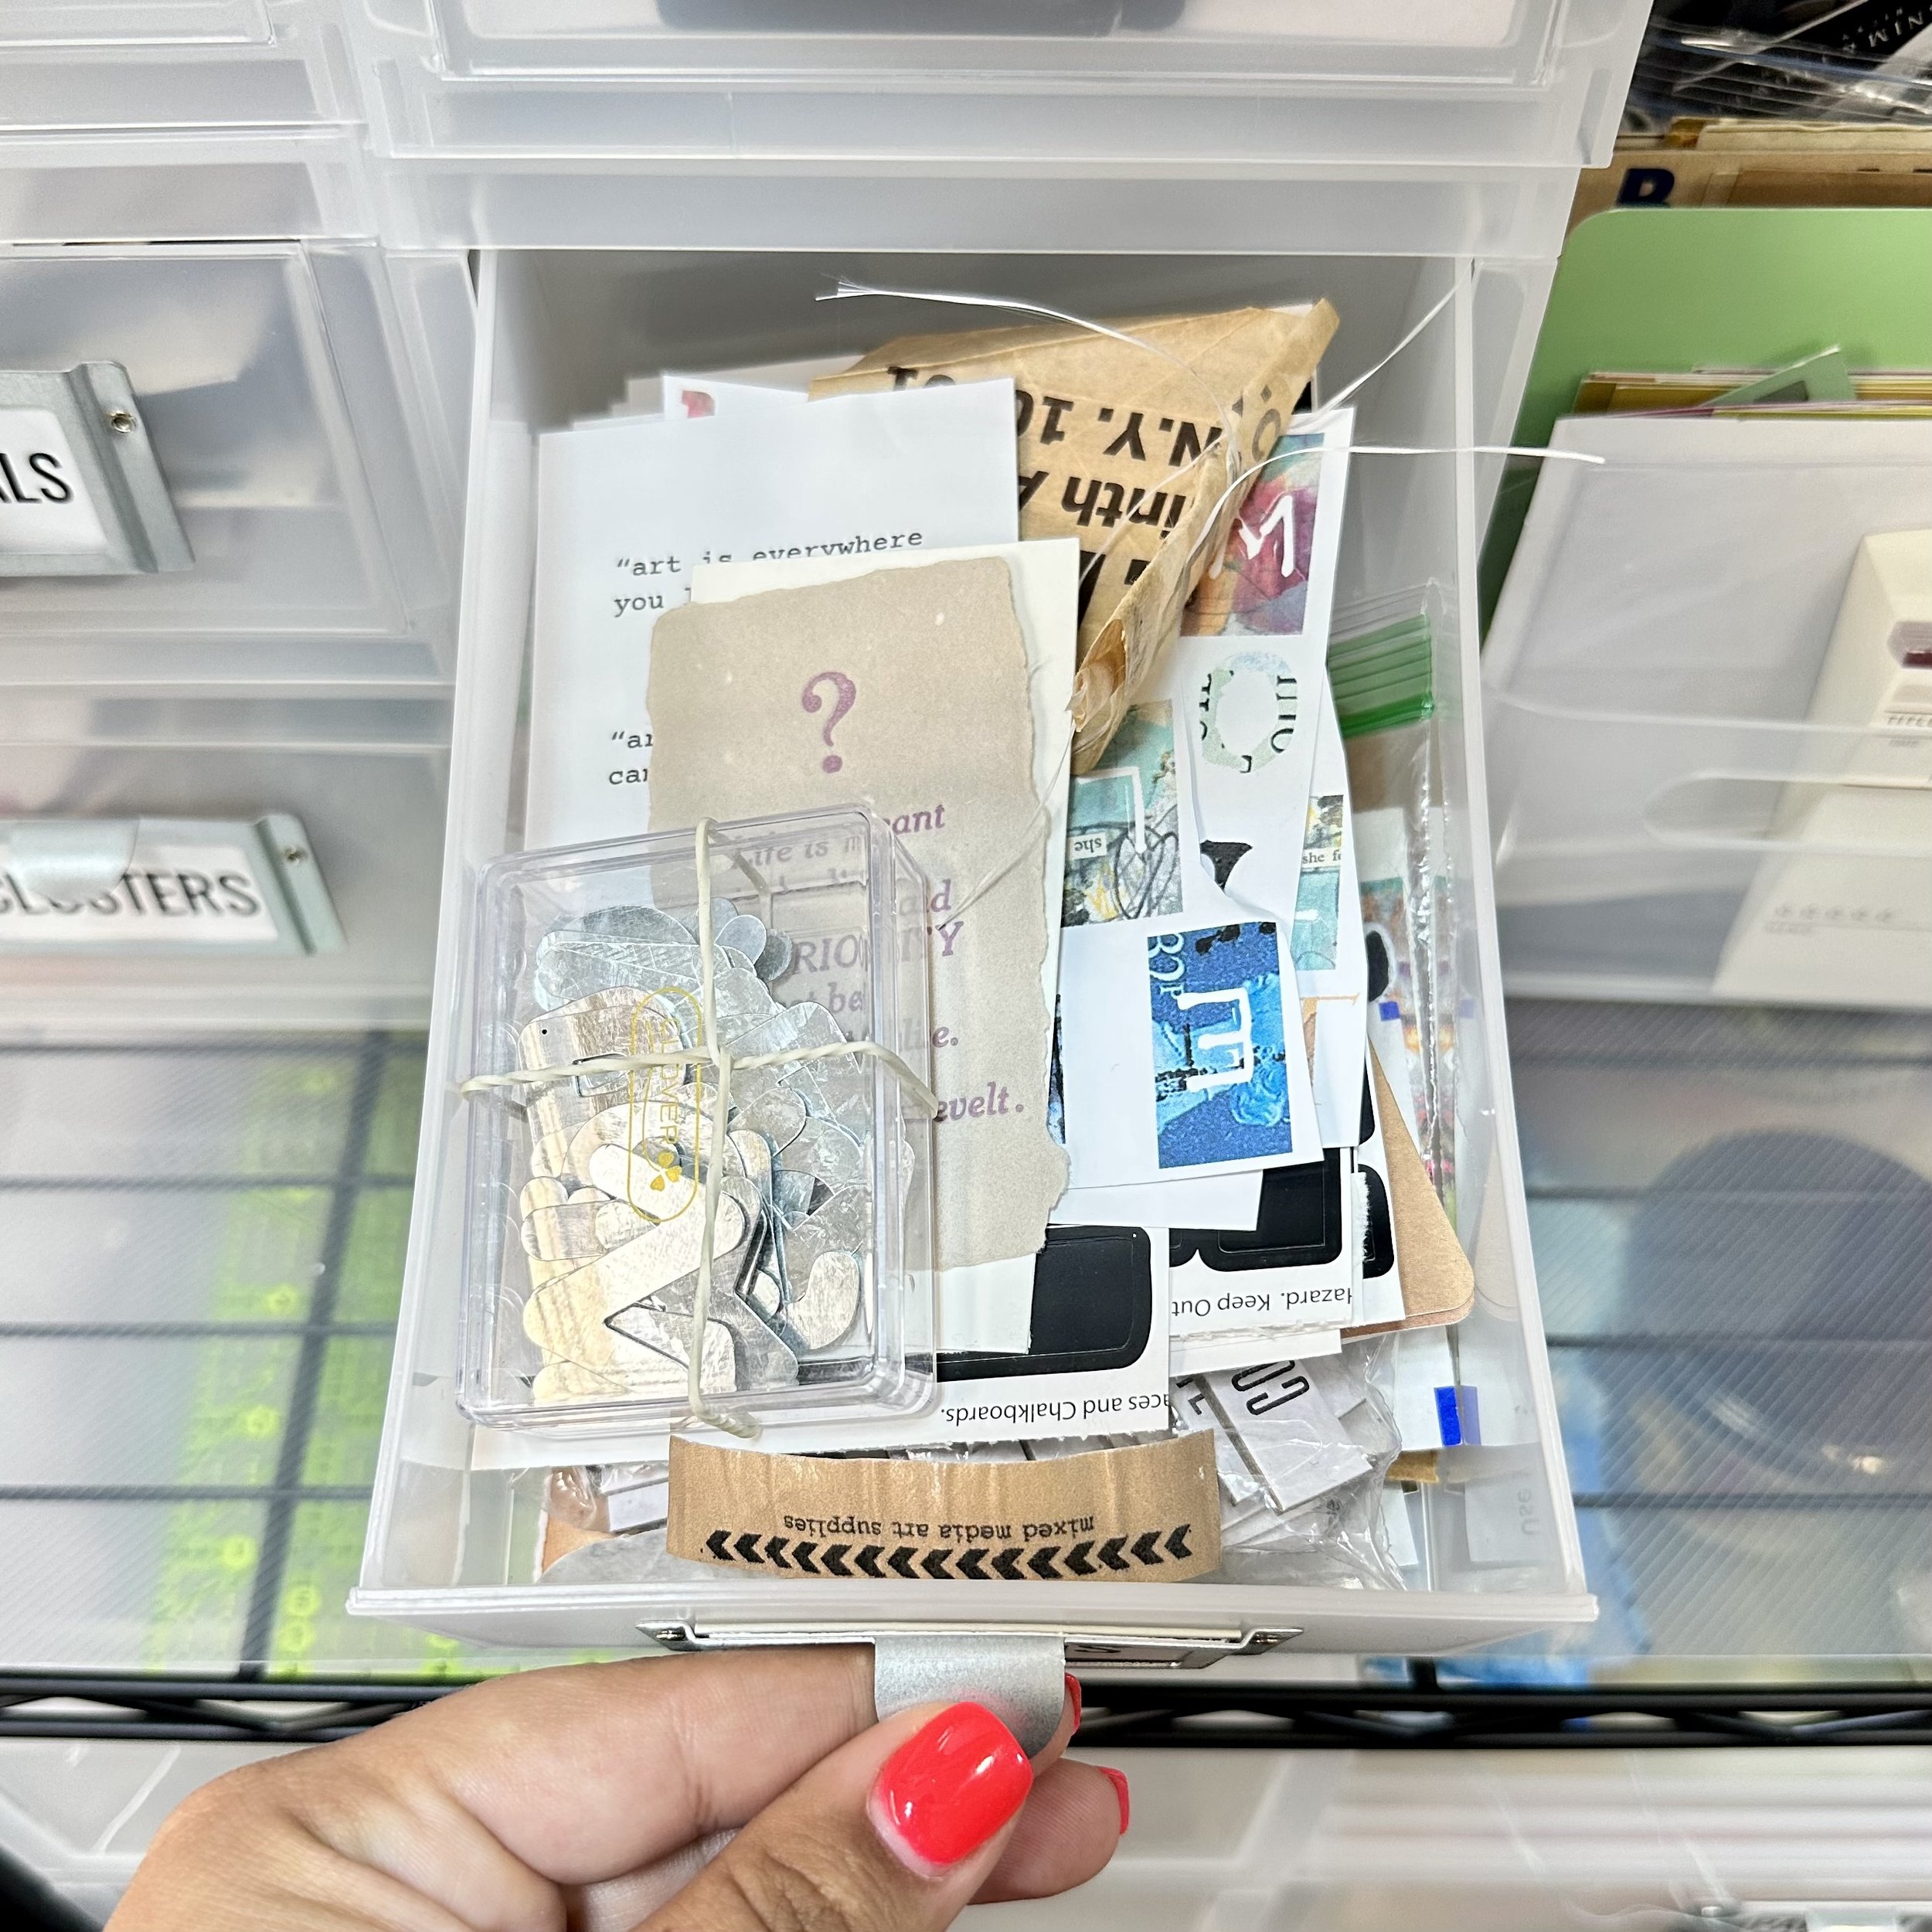
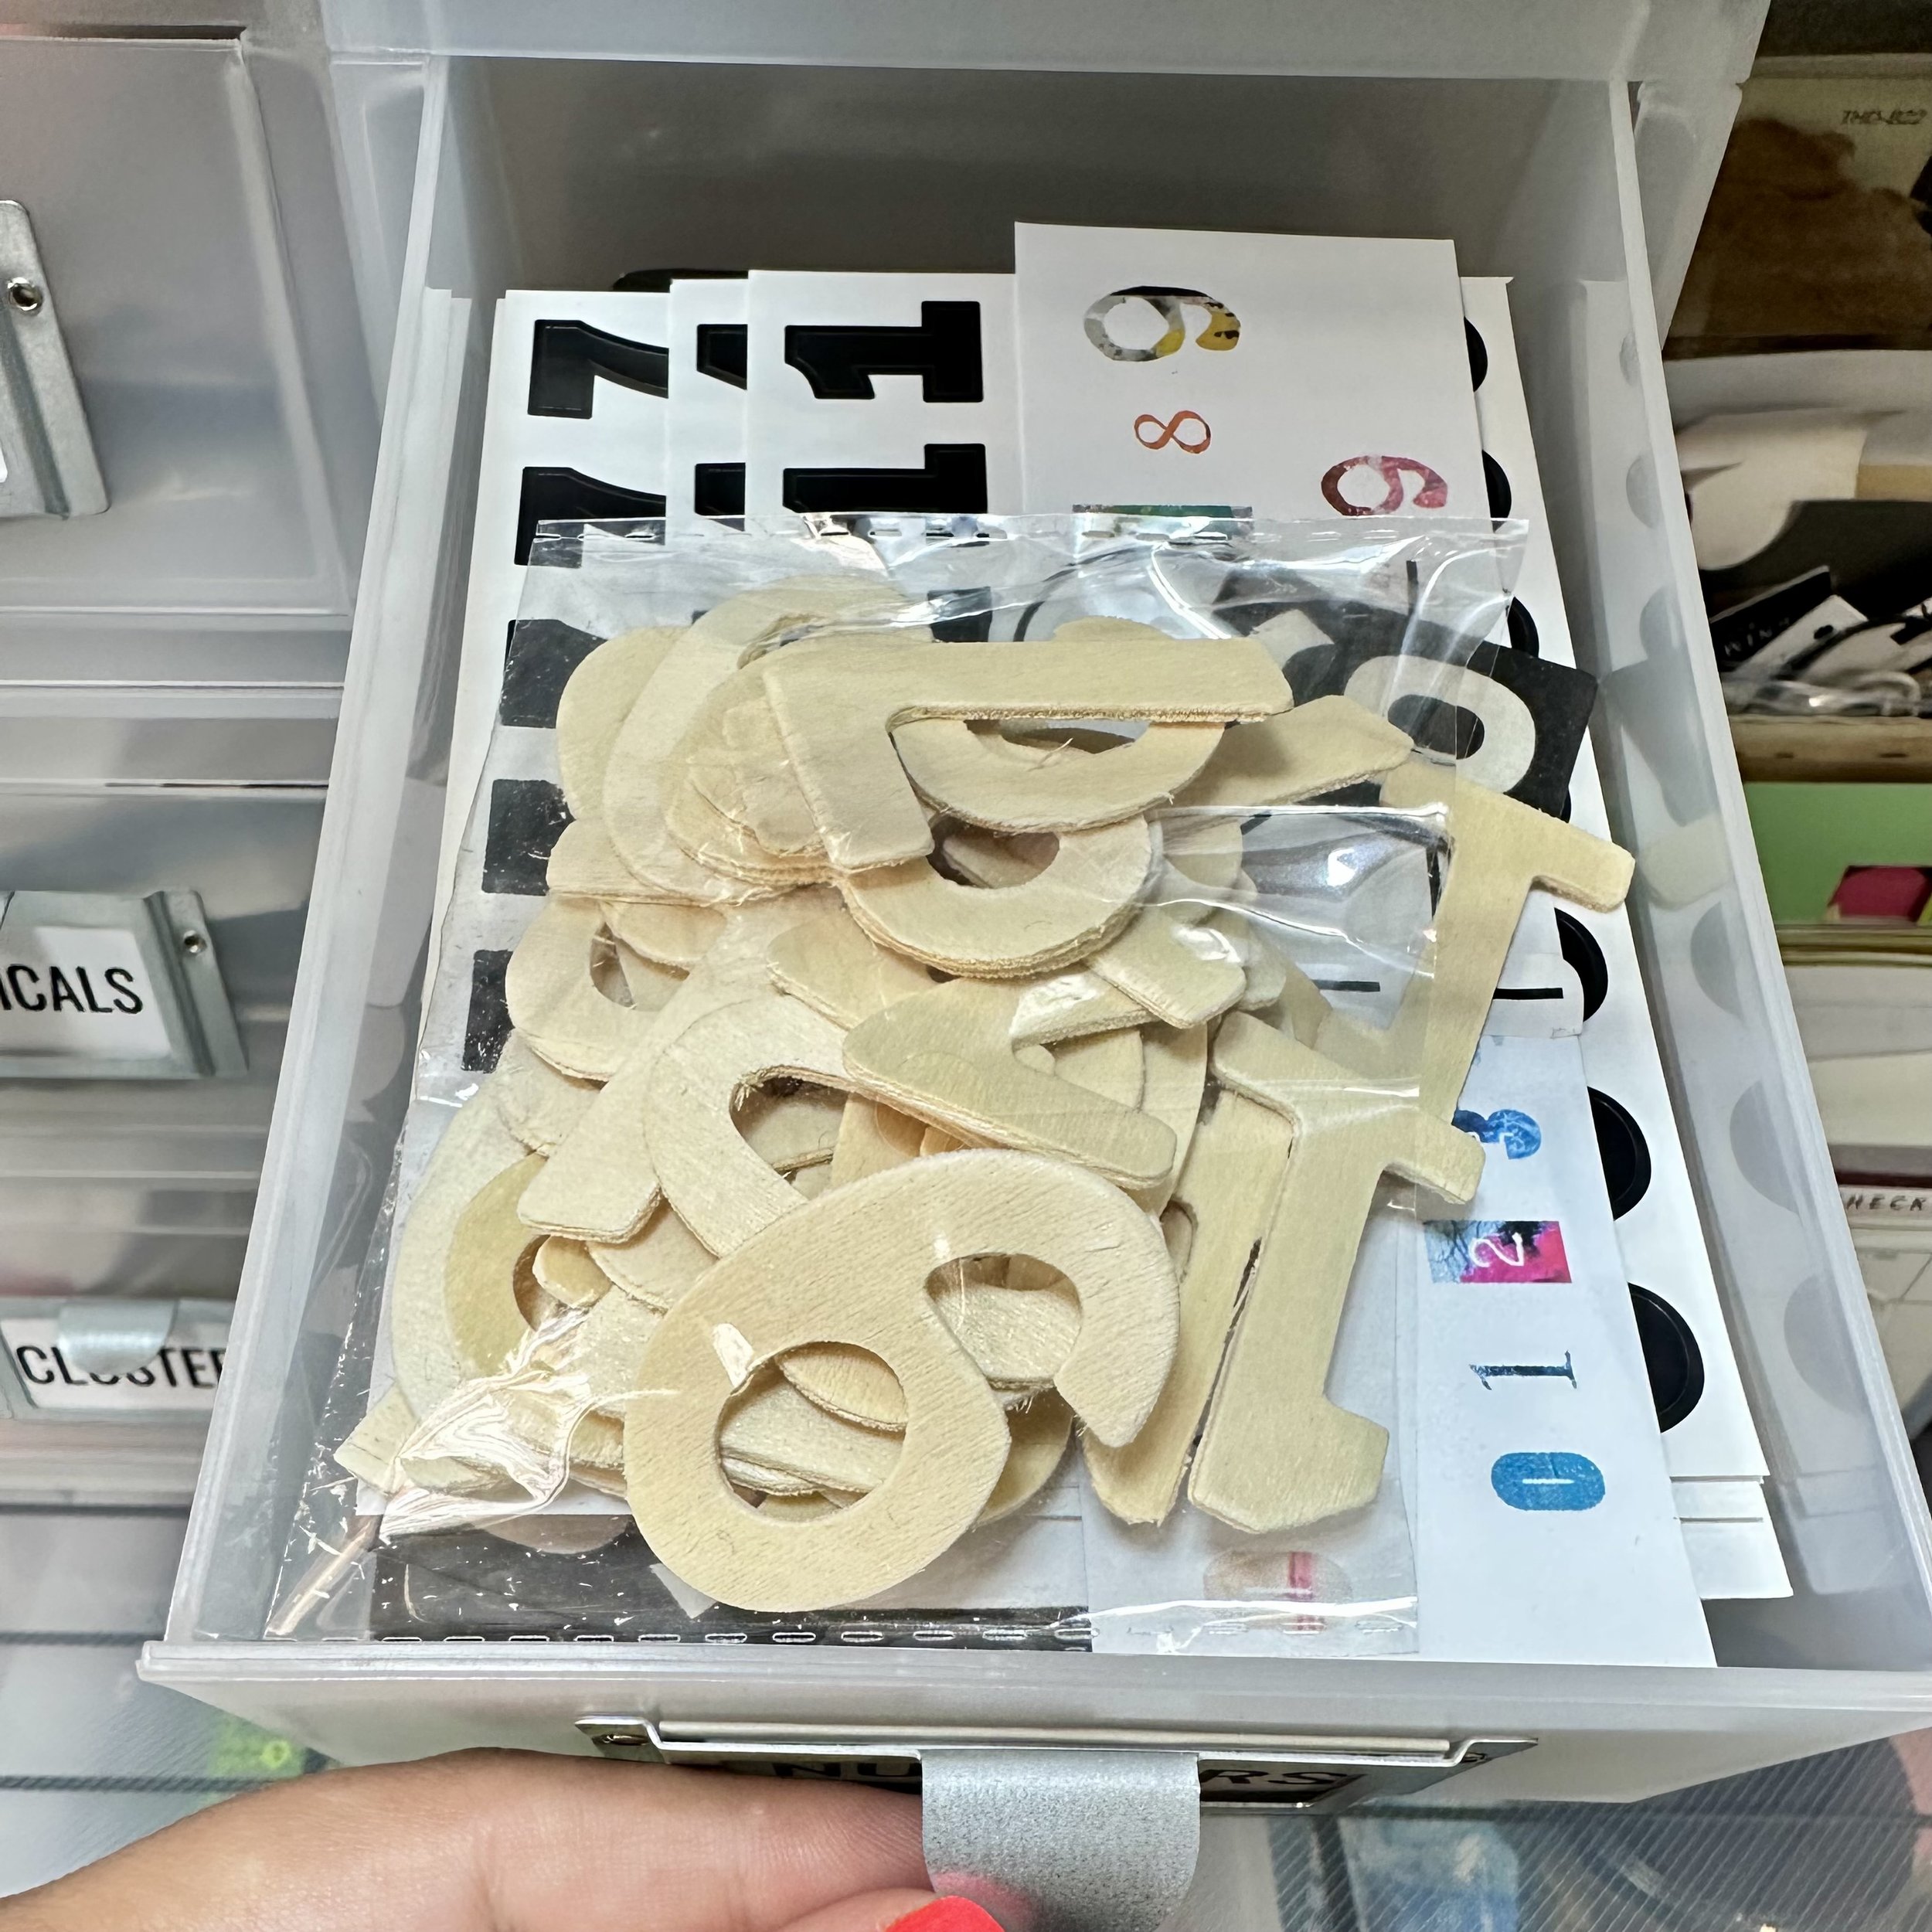
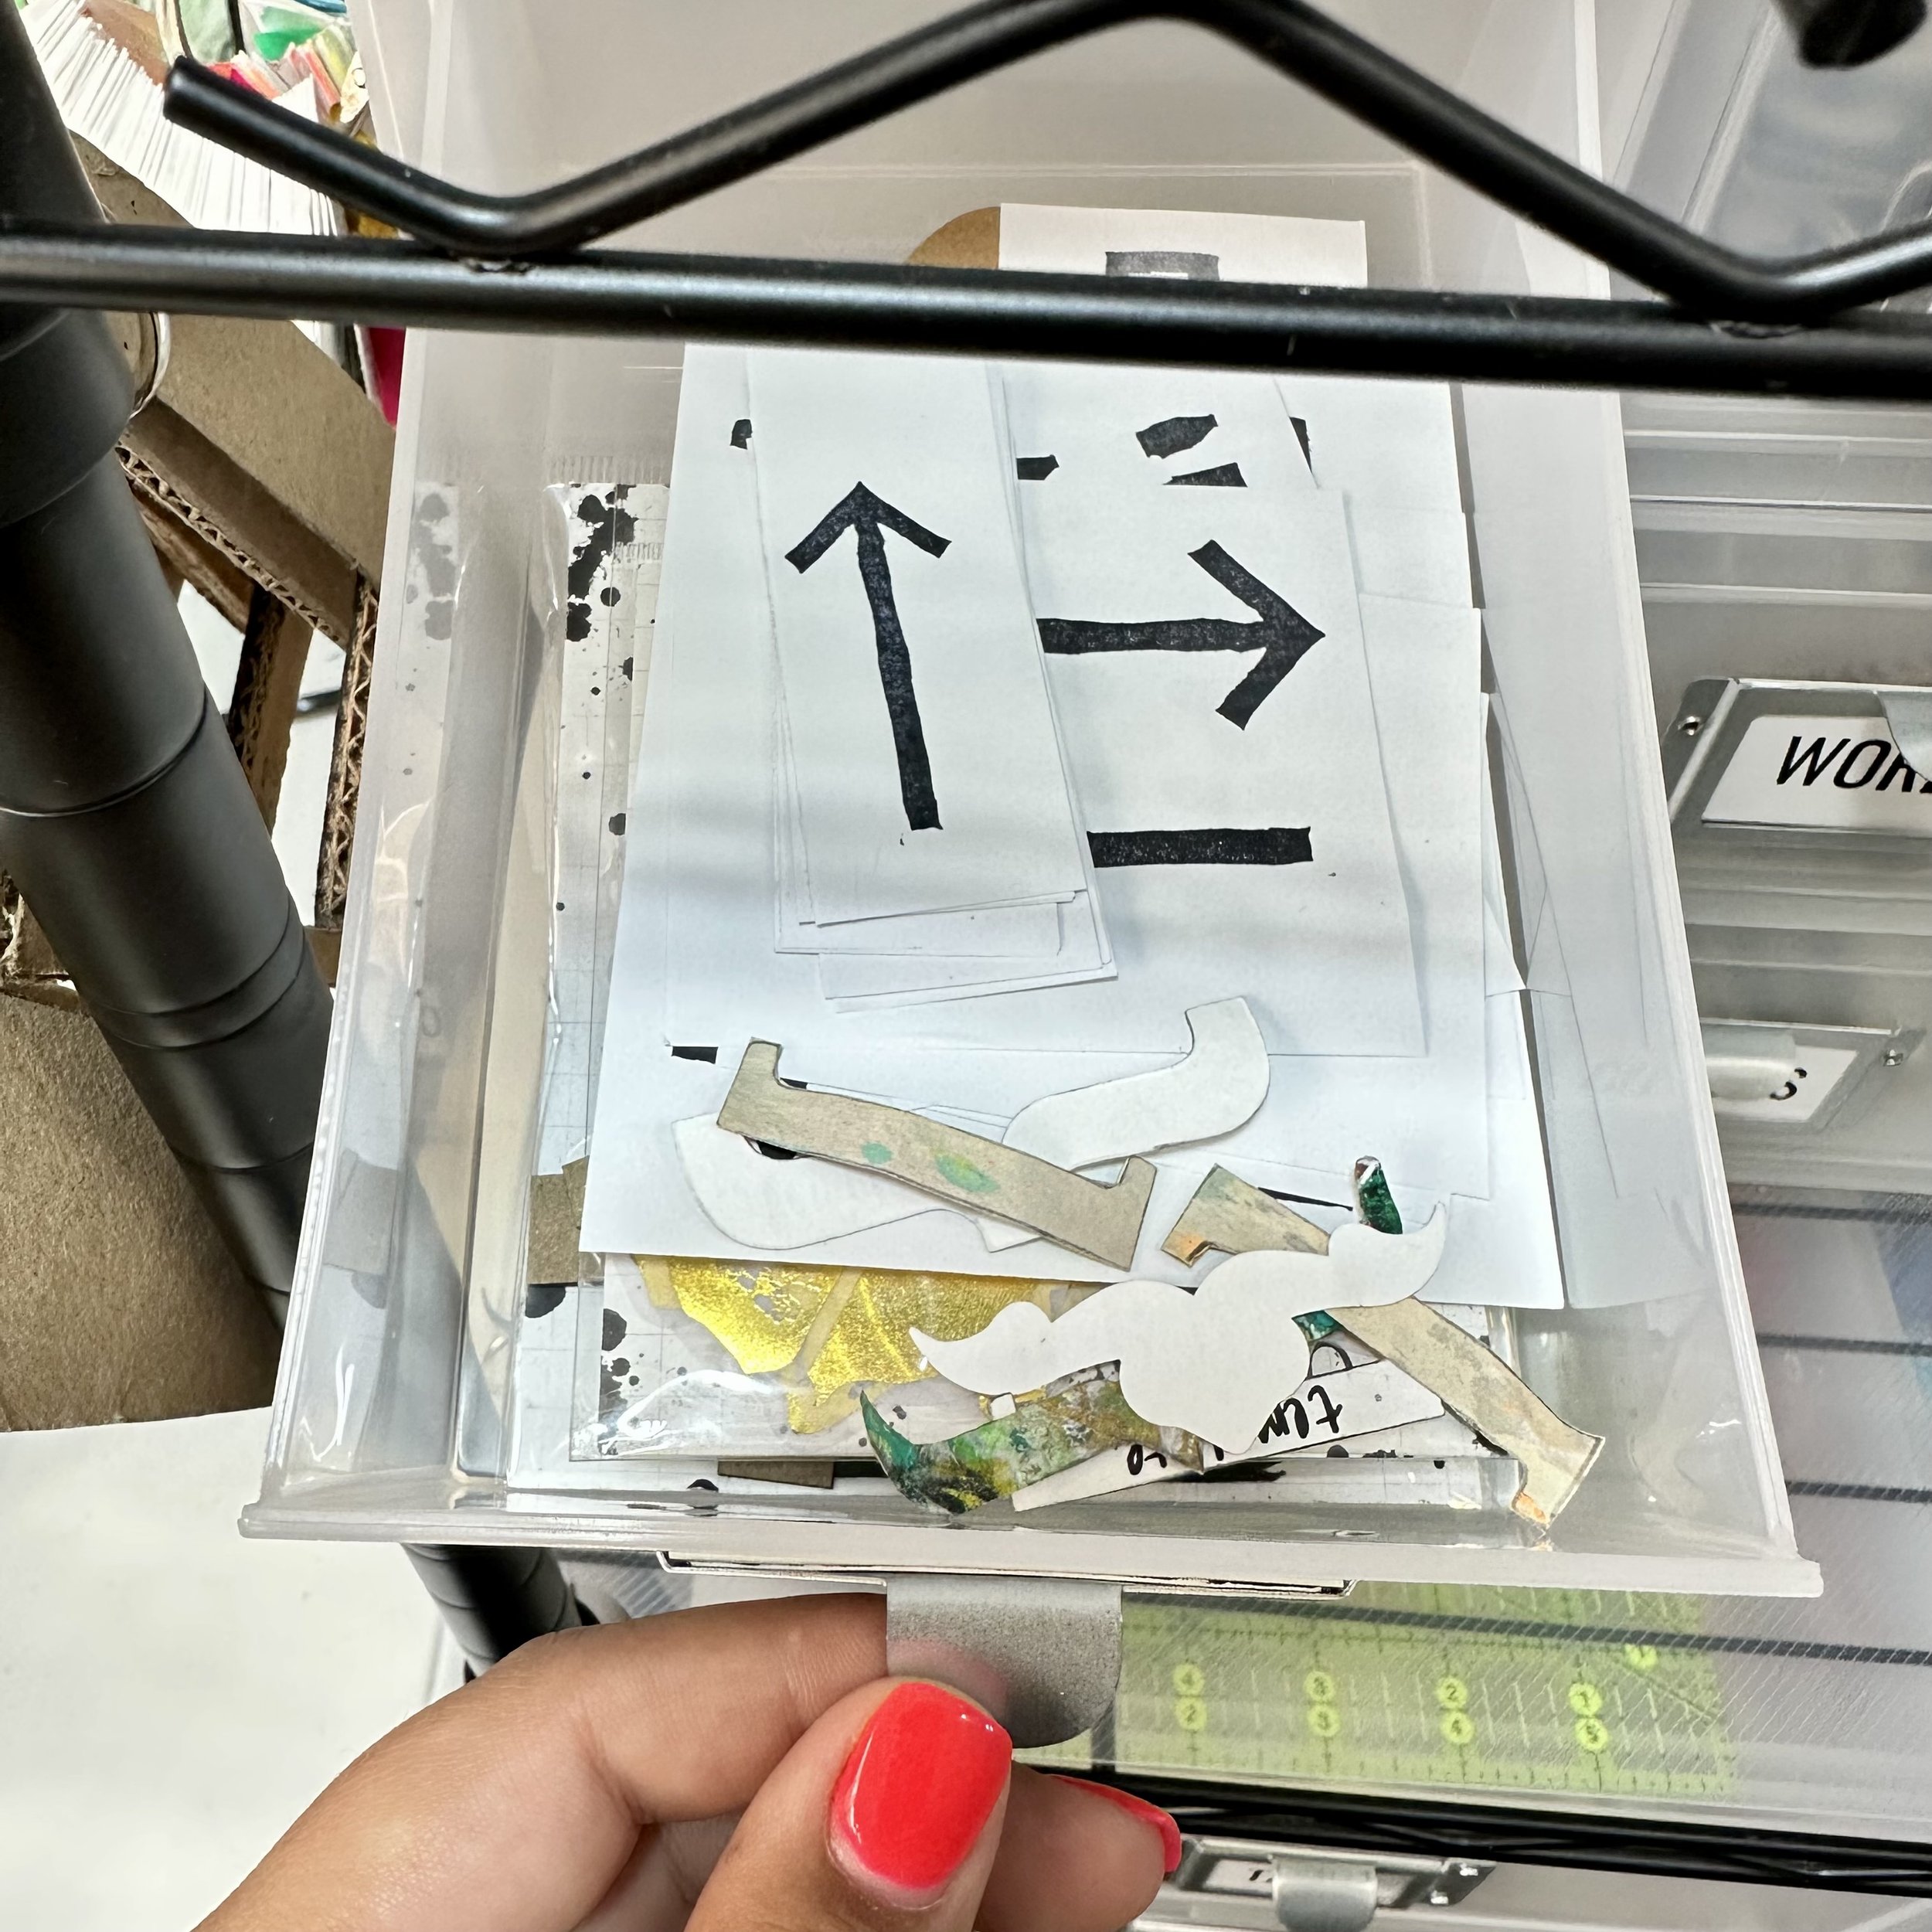
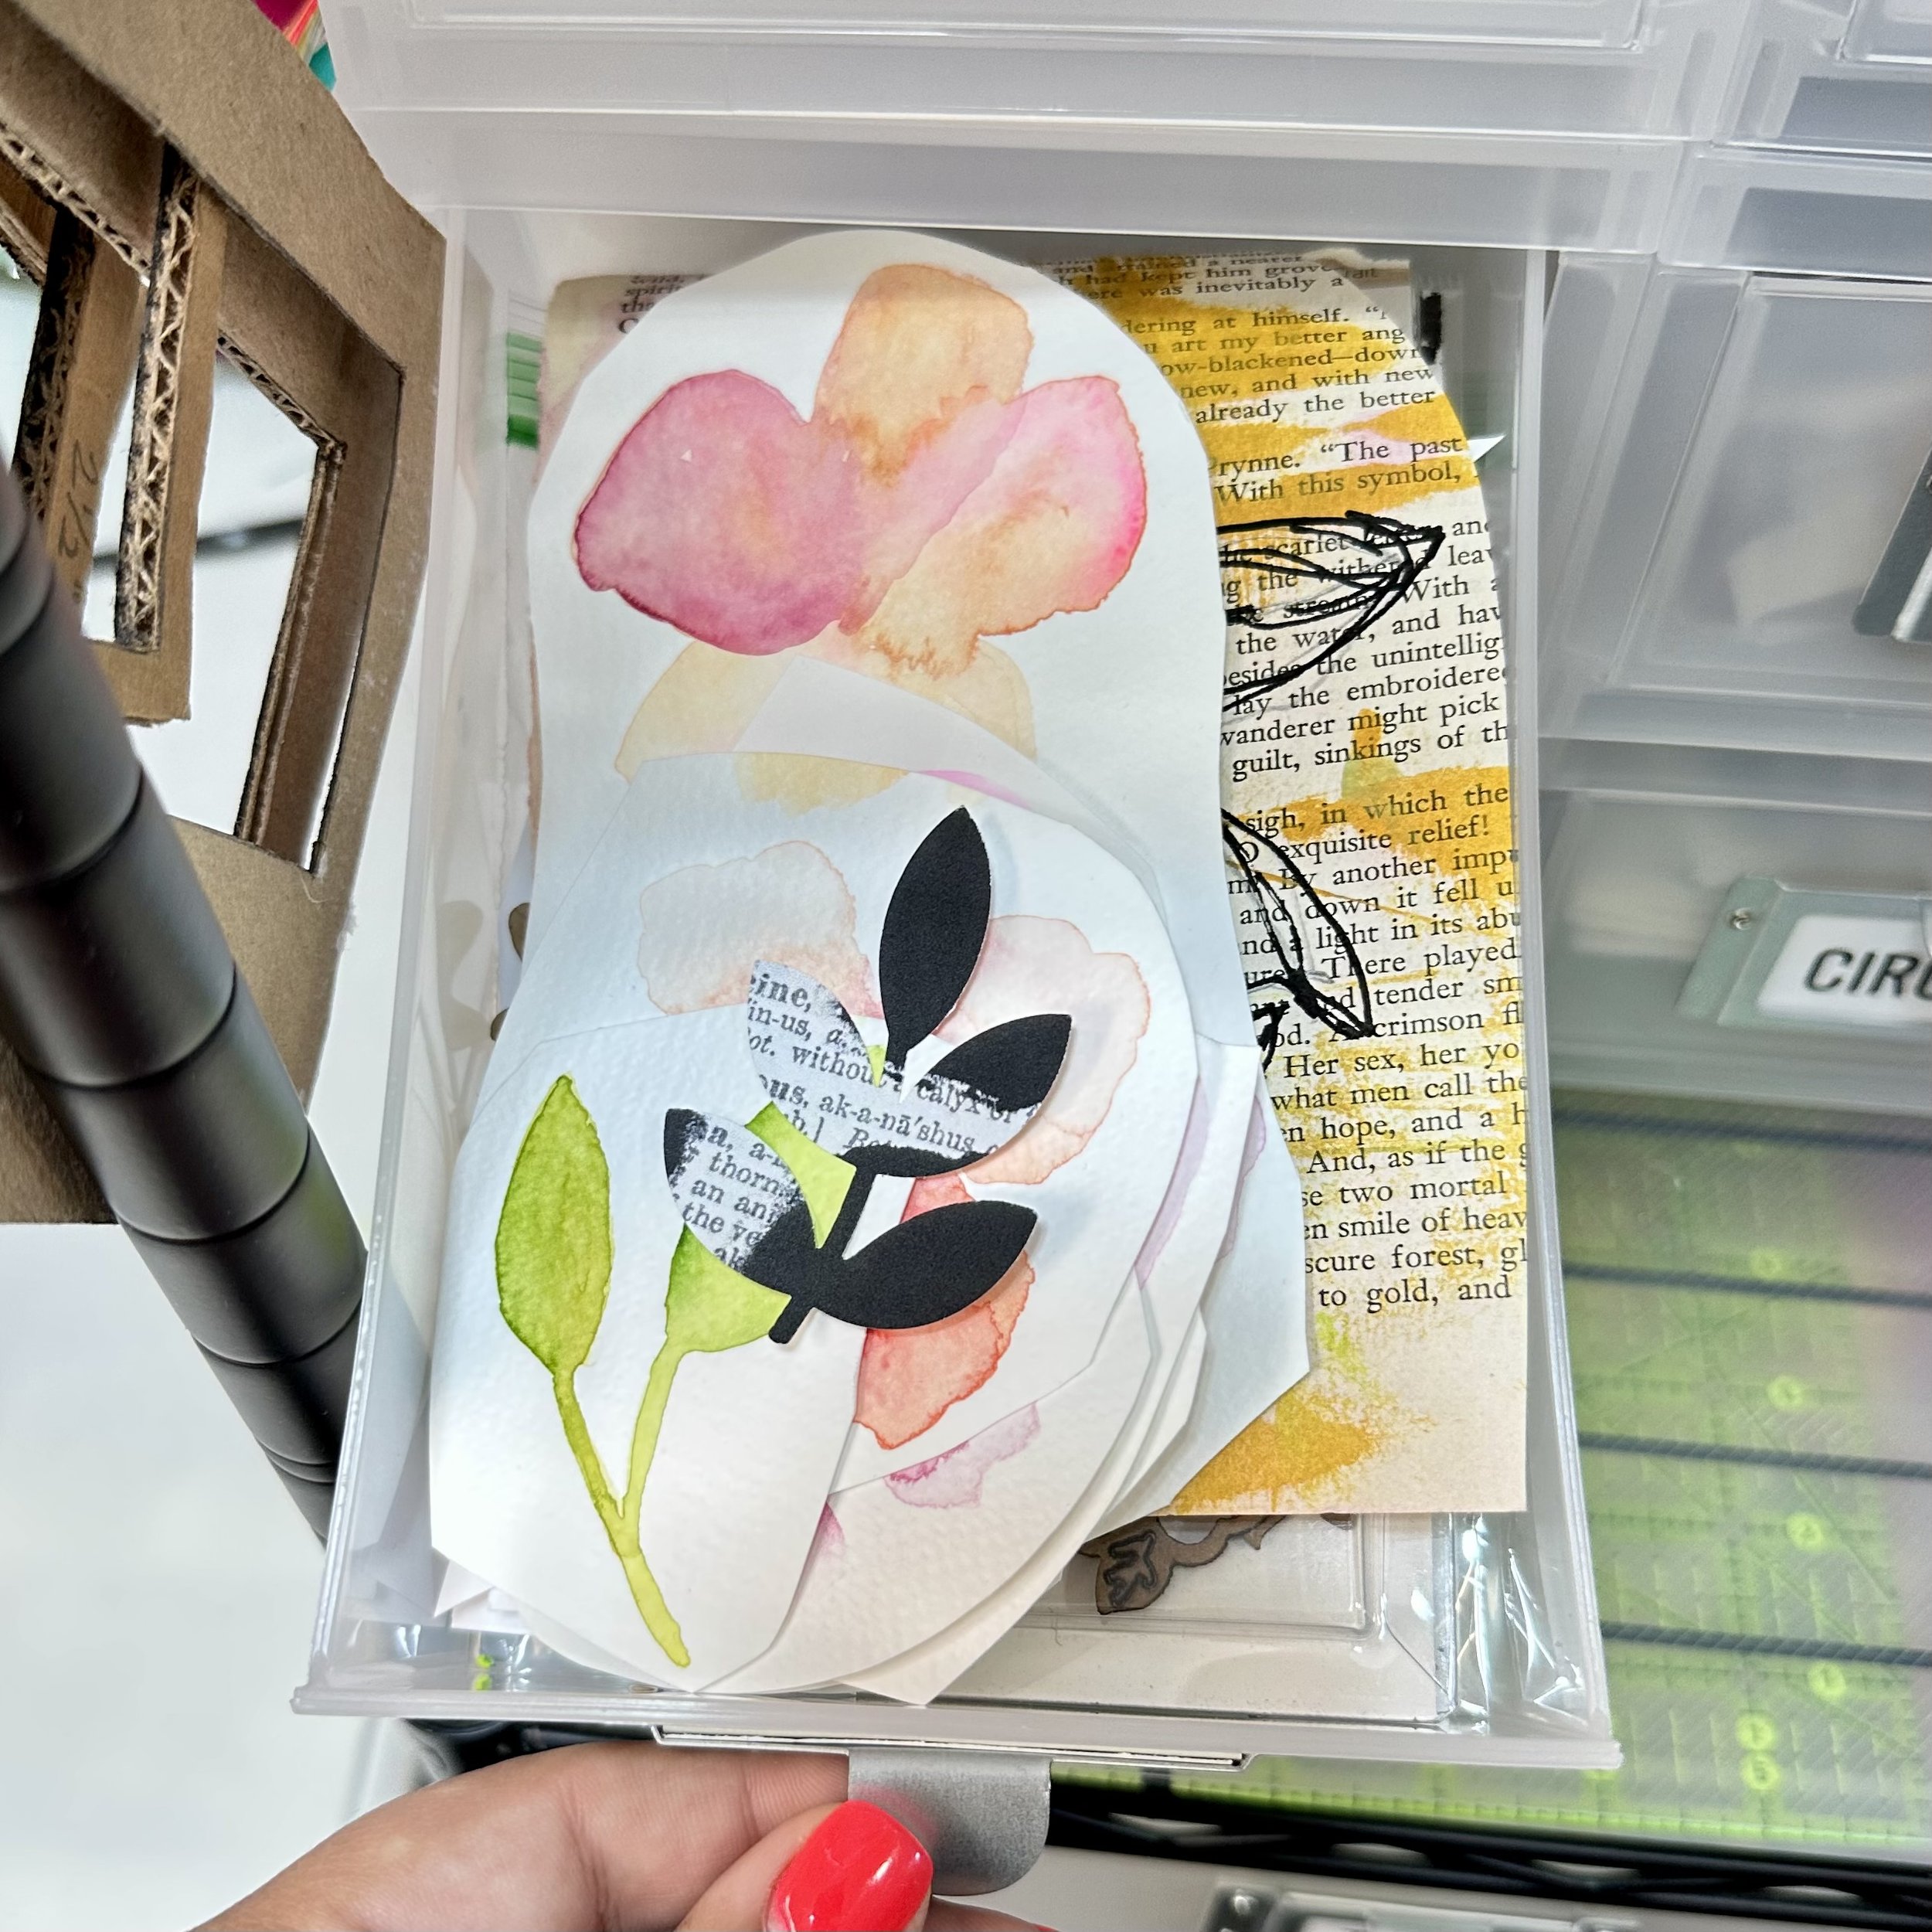
Let’s delve into the wonderful world of organizing embellishments in your art studio. But first, let's clarify what I mean by embellishments. They encompass a wide range of items that can elevate your artwork. Embellishments include collage clusters, pre-cut paper or fabric pieces, botanicals, shapes, punched-out circles, stickers, art tags, words, numbers, and so much more. Essentially, they are the pre-made elements that are ready to be incorporated into your art journals. Think of them as the delightful garnish or special add-ons that enhance your creations.

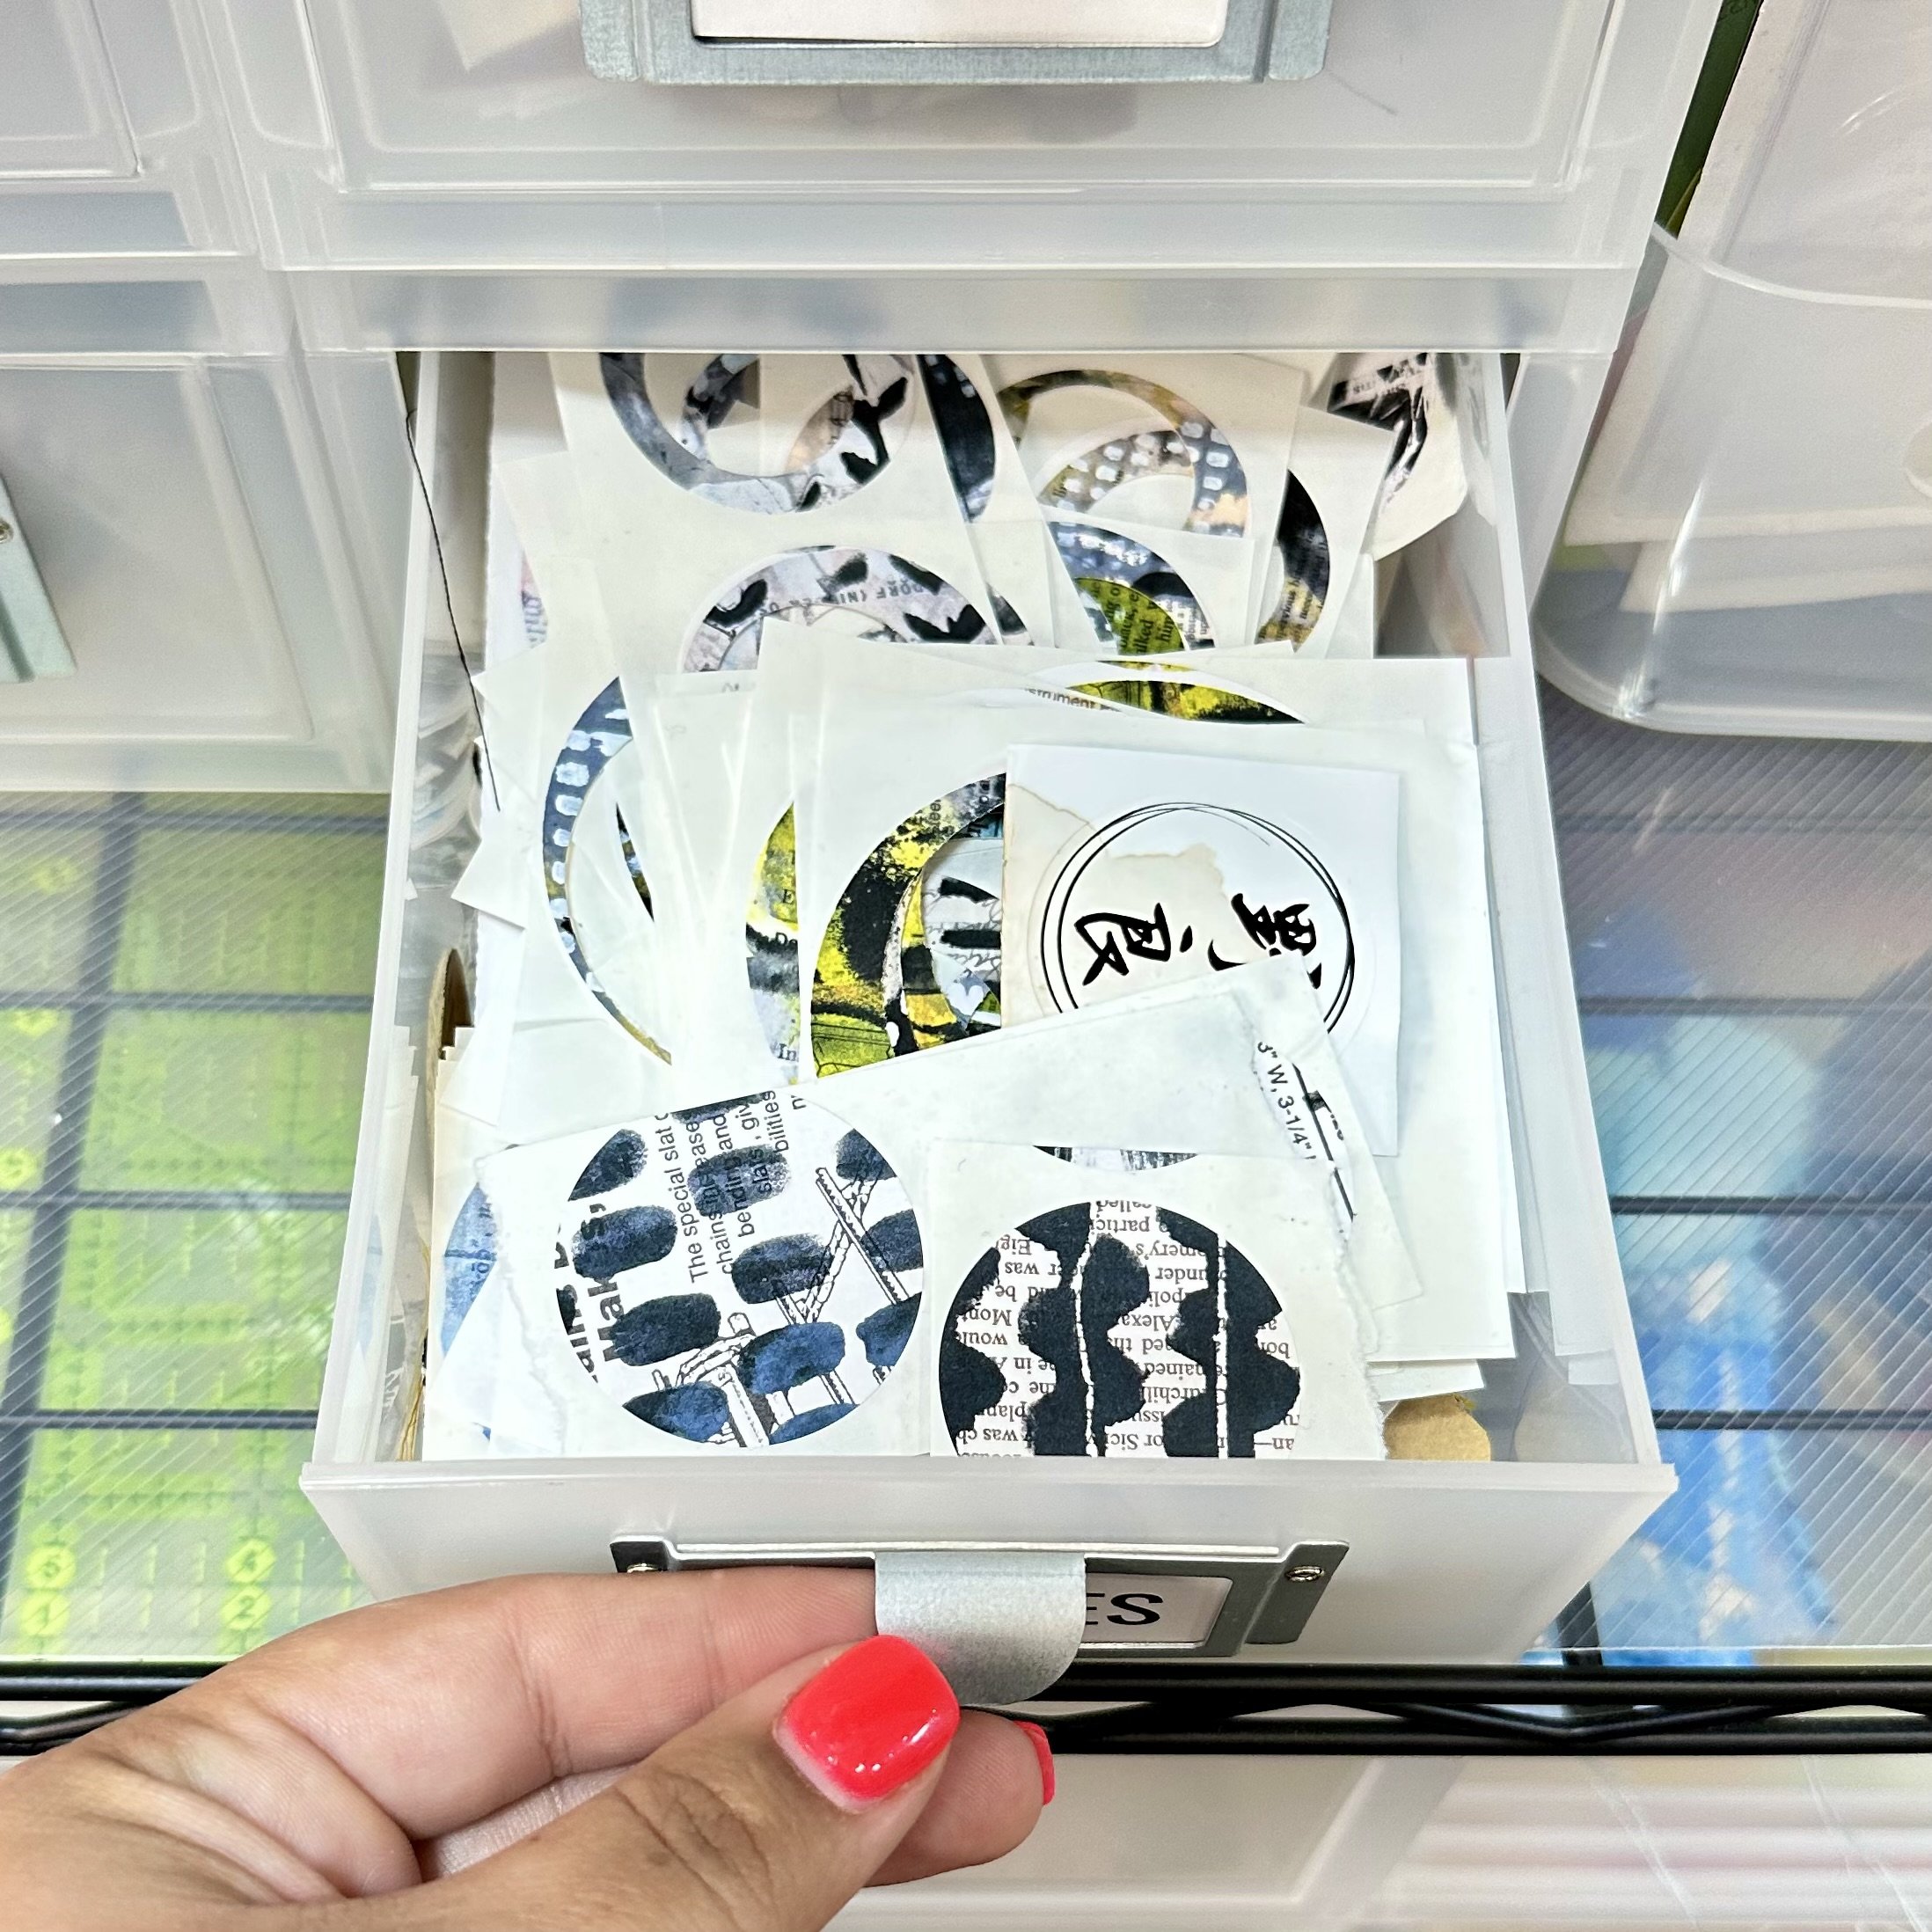
To keep my embellishments in order, I rely on labeled drawers designed for sorting and organization. Take a good look through all of the bits and pieces that you have made and have on hand already. Sort these into categories, and remember your system only needs to make sense to you. Afterall, you’re the one working and creating in your studio space!
Here are some of my categories, hopefully this will spark some ideas in your mind of what could work best for you: Pre-cut bits, botanicals, clusters, words, numbers, circles, tags, snippet rolls.
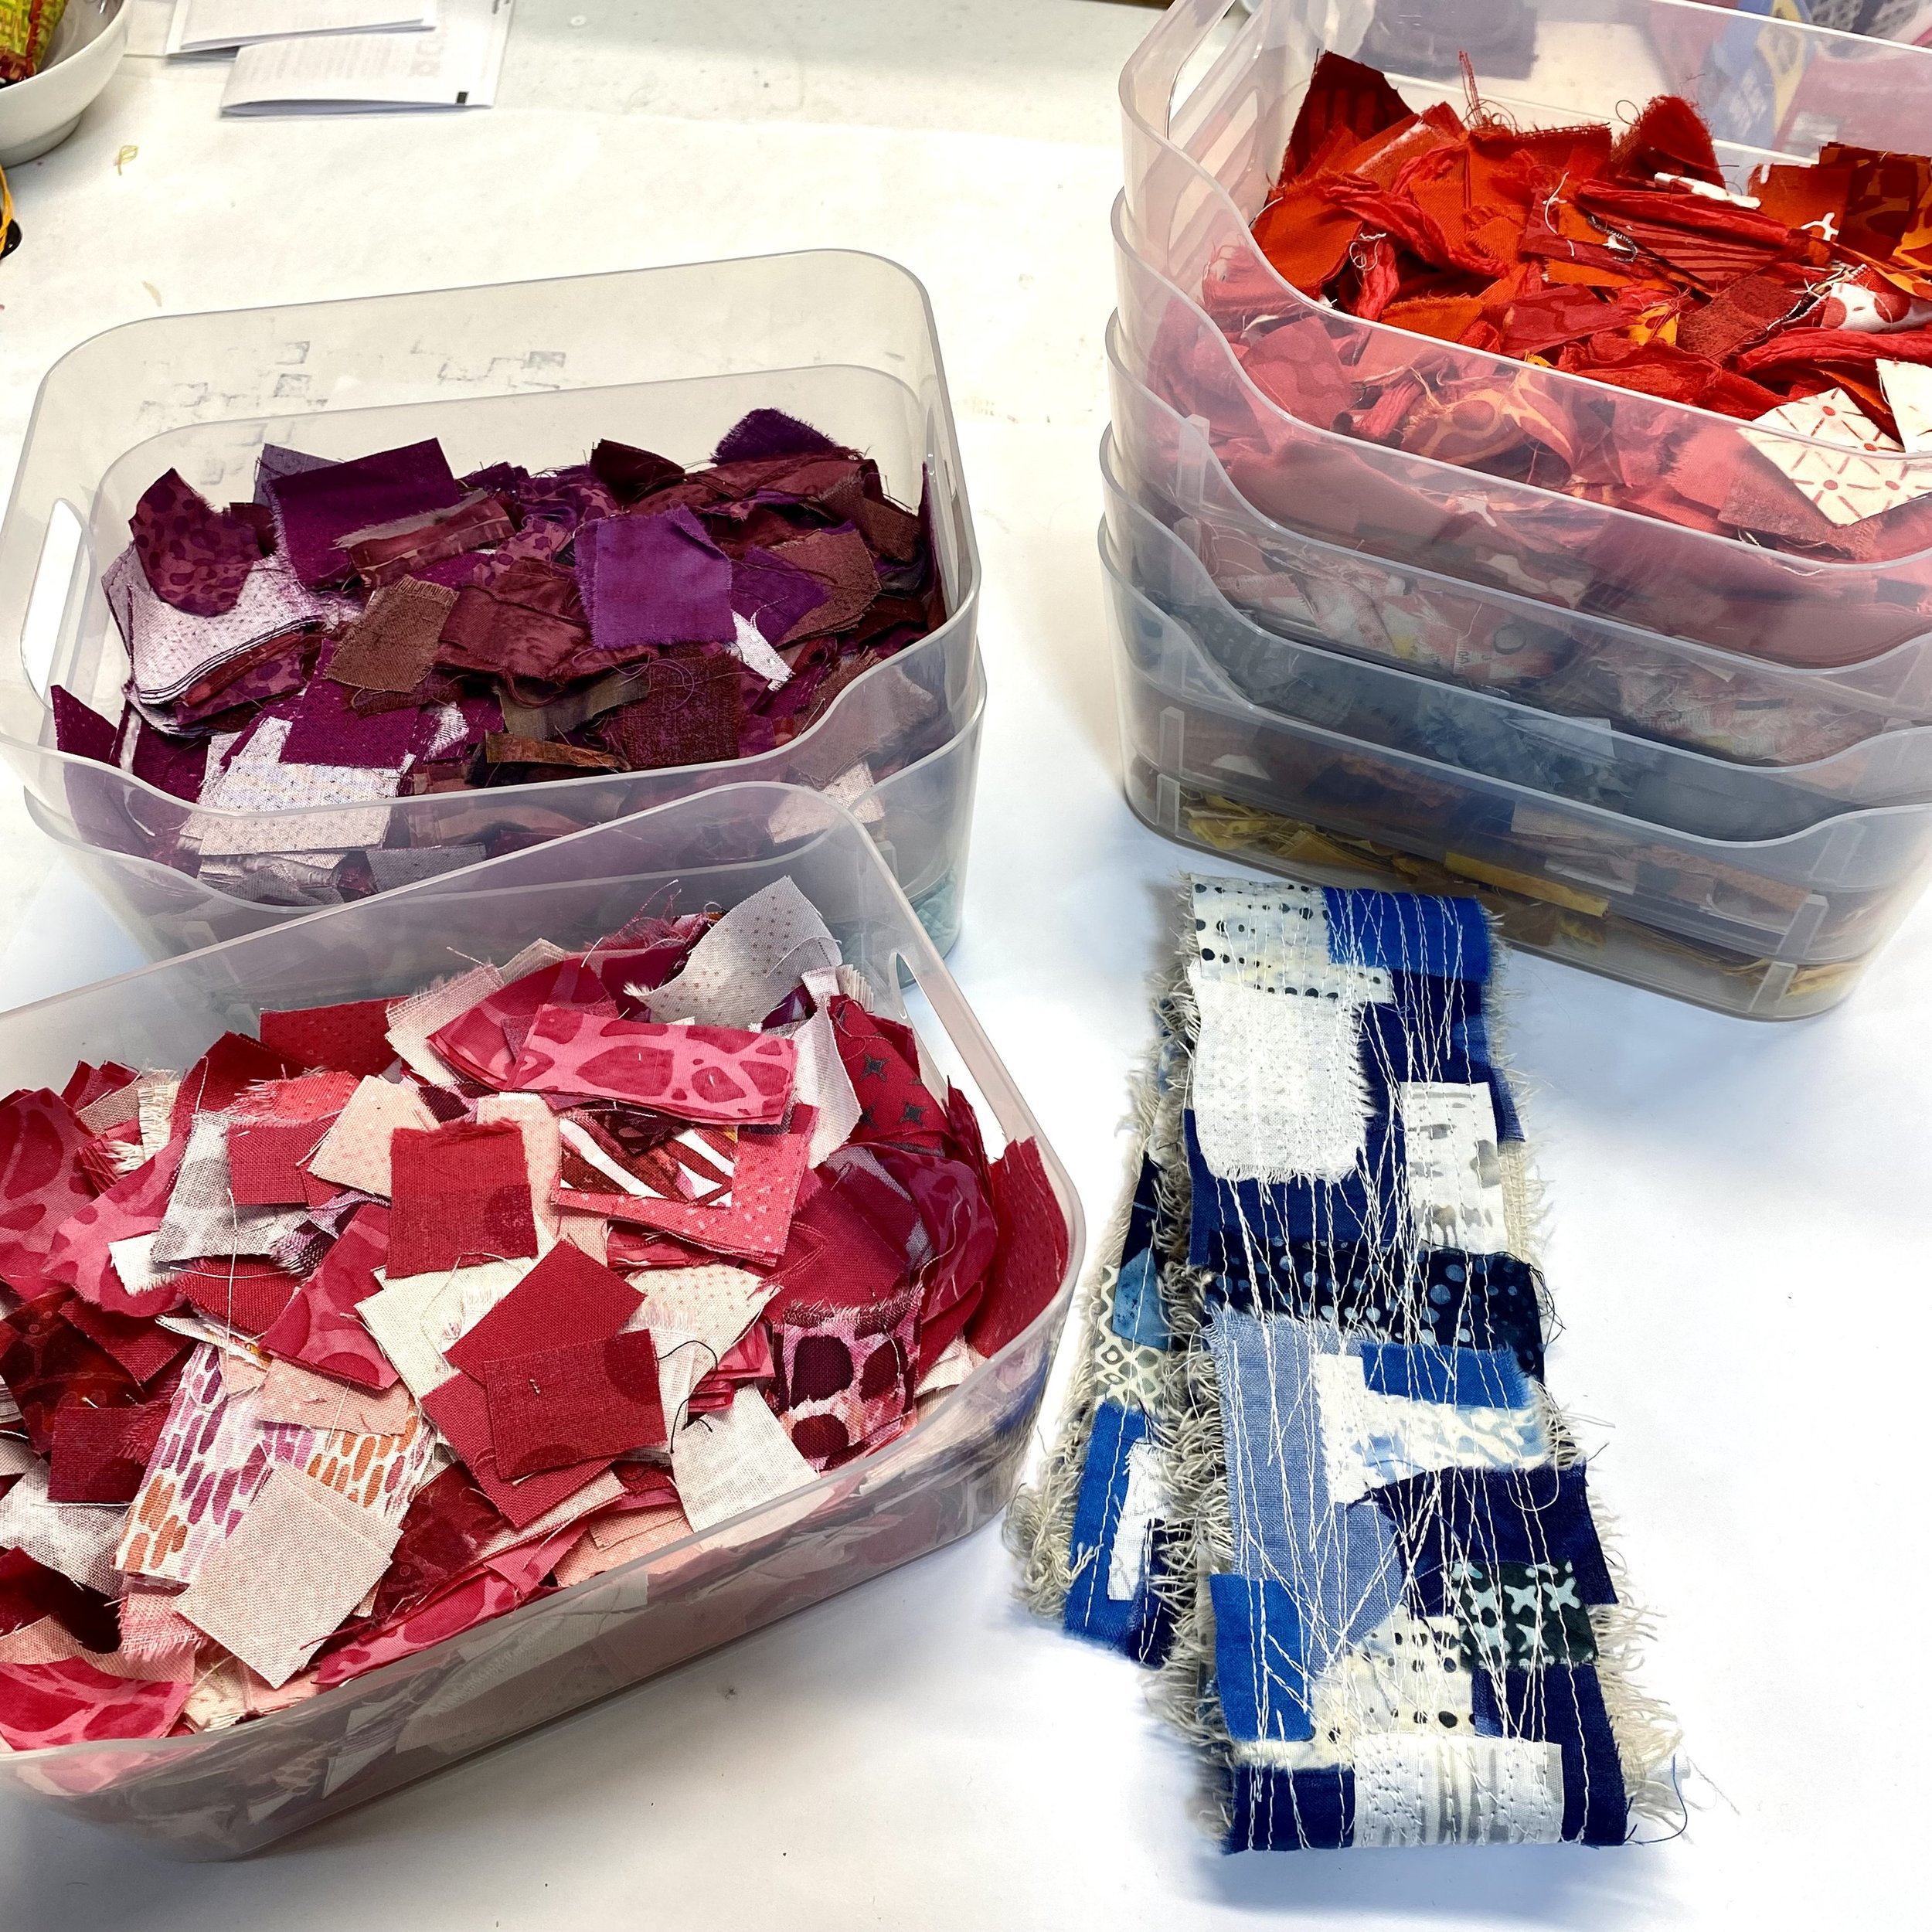
I have one shelf dedicated to my organization of fabric snippet rolls. I’ve used containers that are sorted by color, and can stack one on top of the other. These rolls consist of small pieces of fabric that are already cut in various colors. By having these snippets prepared in advance, it becomes easier and more convenient to create snippet rolls whenever inspiration strikes.
Often, when we're in the creative mood, we prefer to dive right into the artistic process rather than spending time on preparation. By doing the prep work ahead of time, we can seamlessly embark on our artistic journey whenever the muse calls.

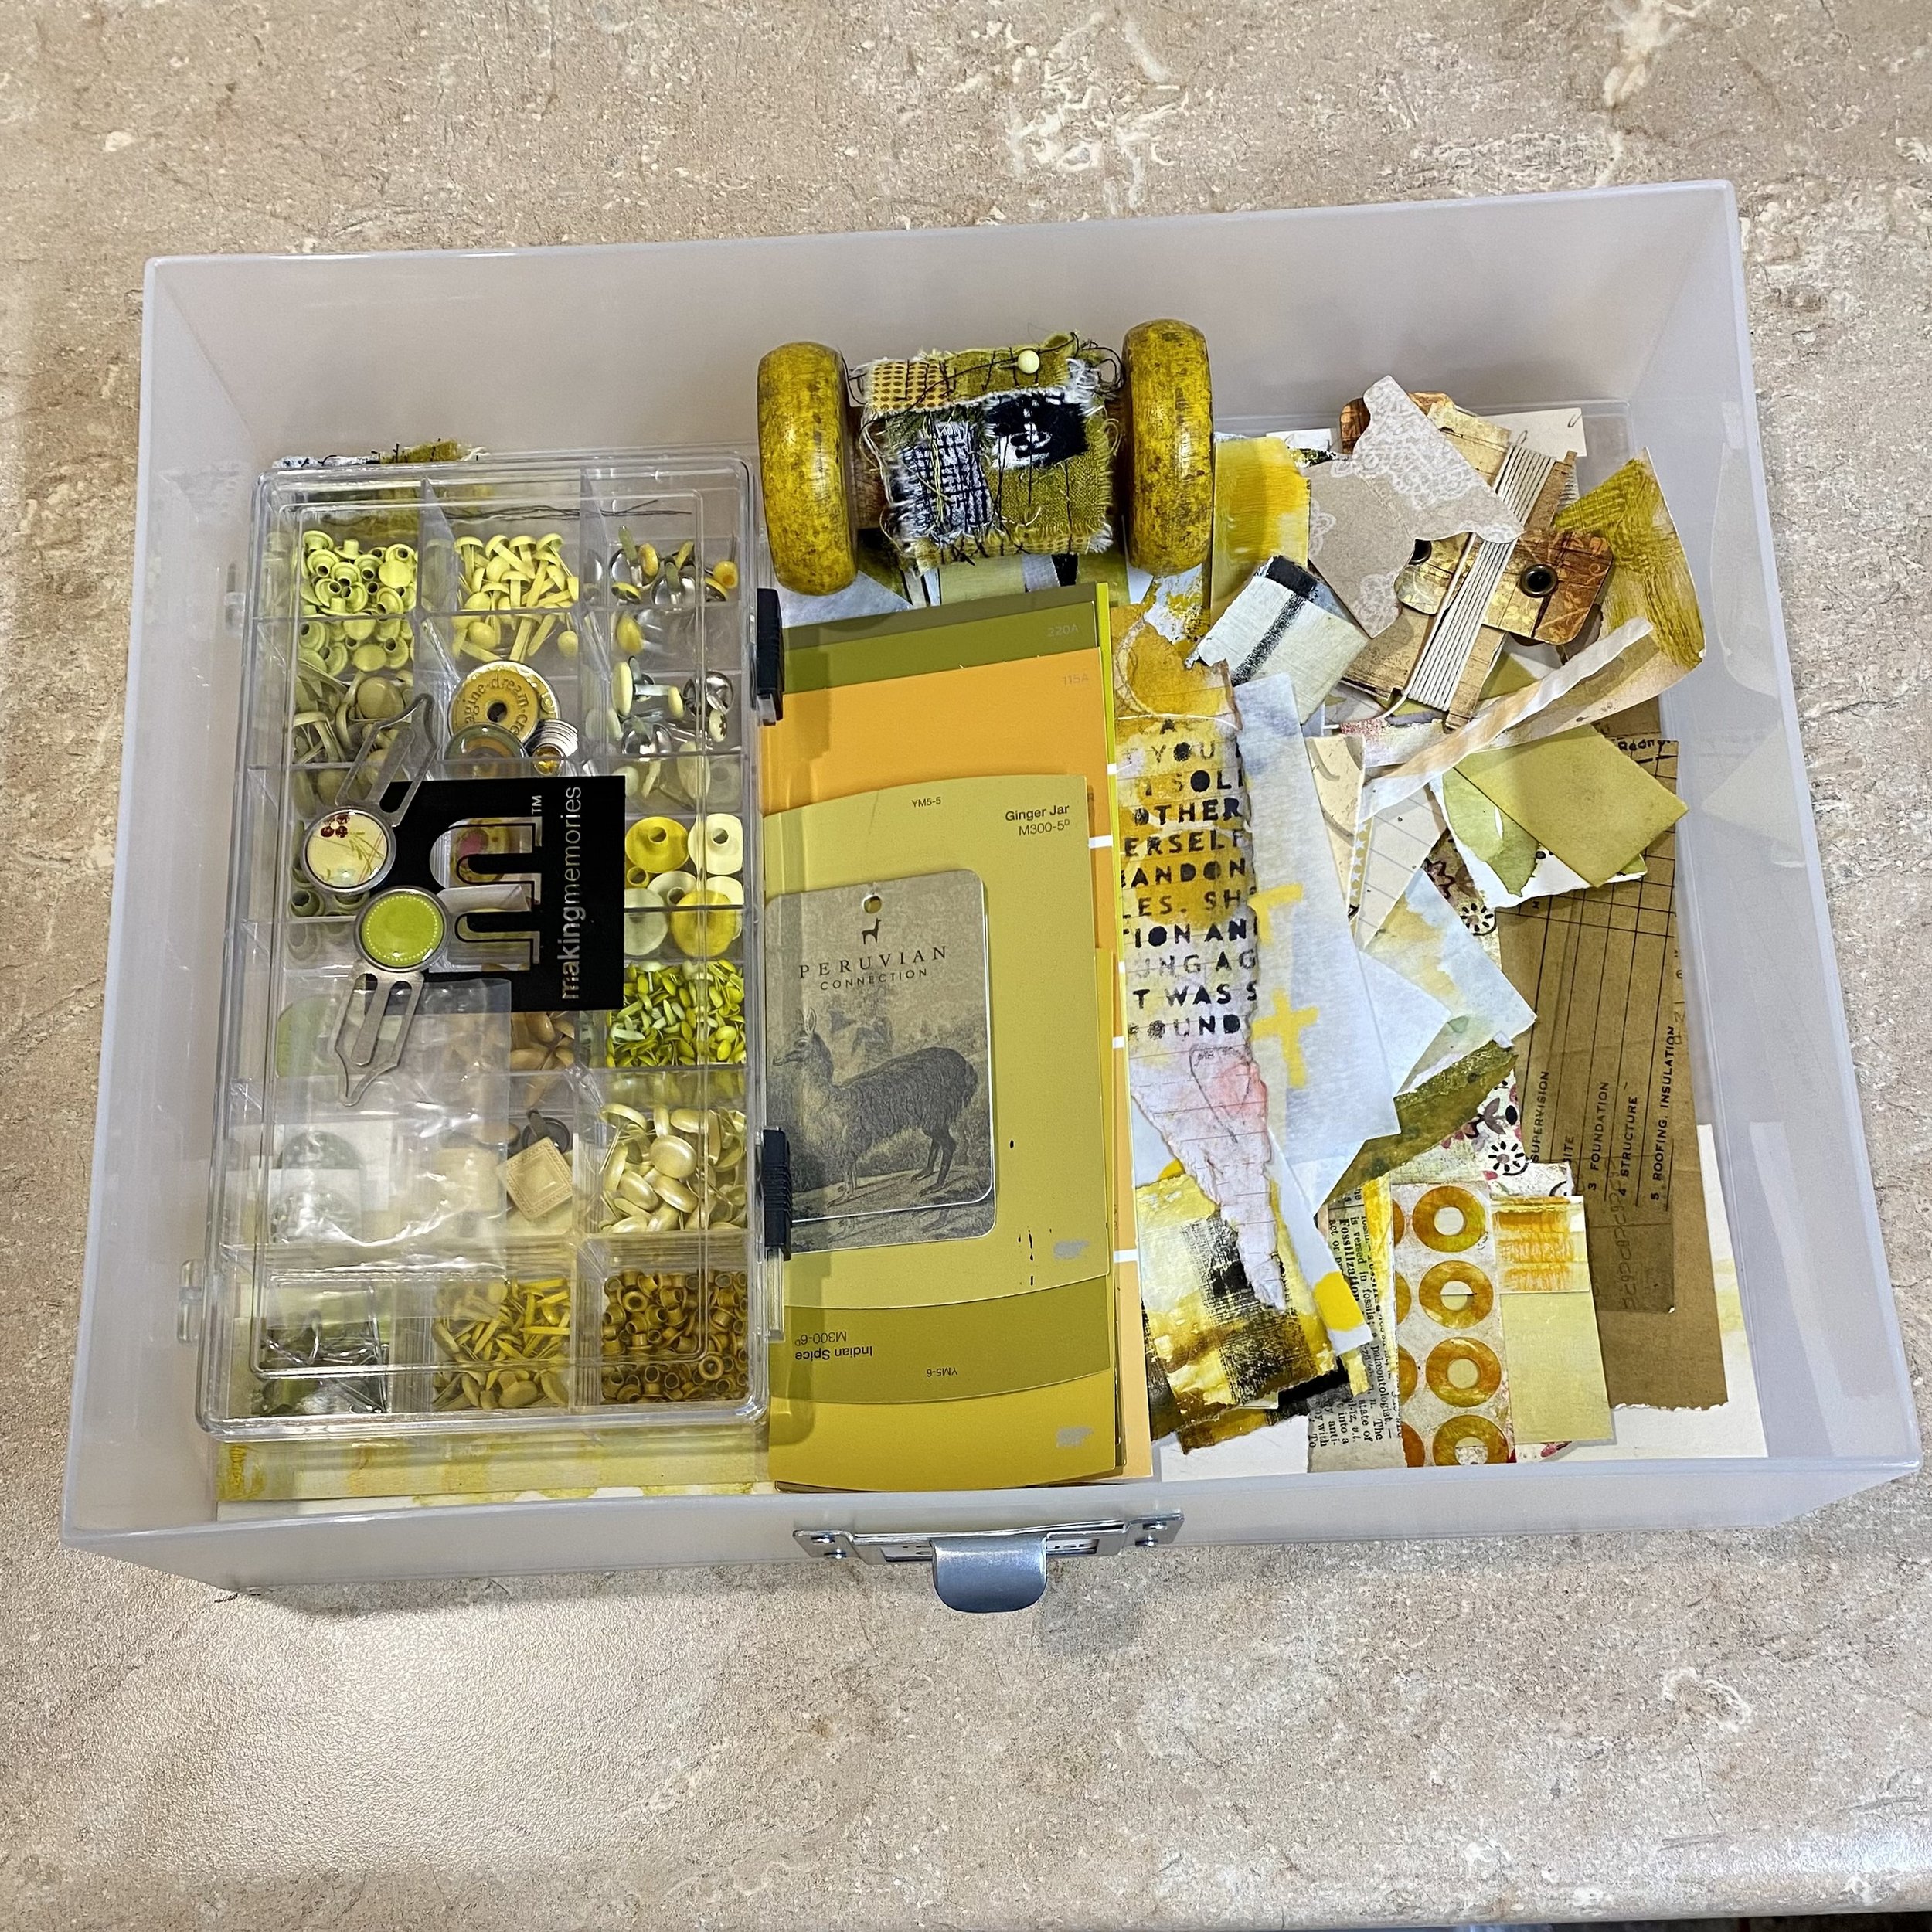
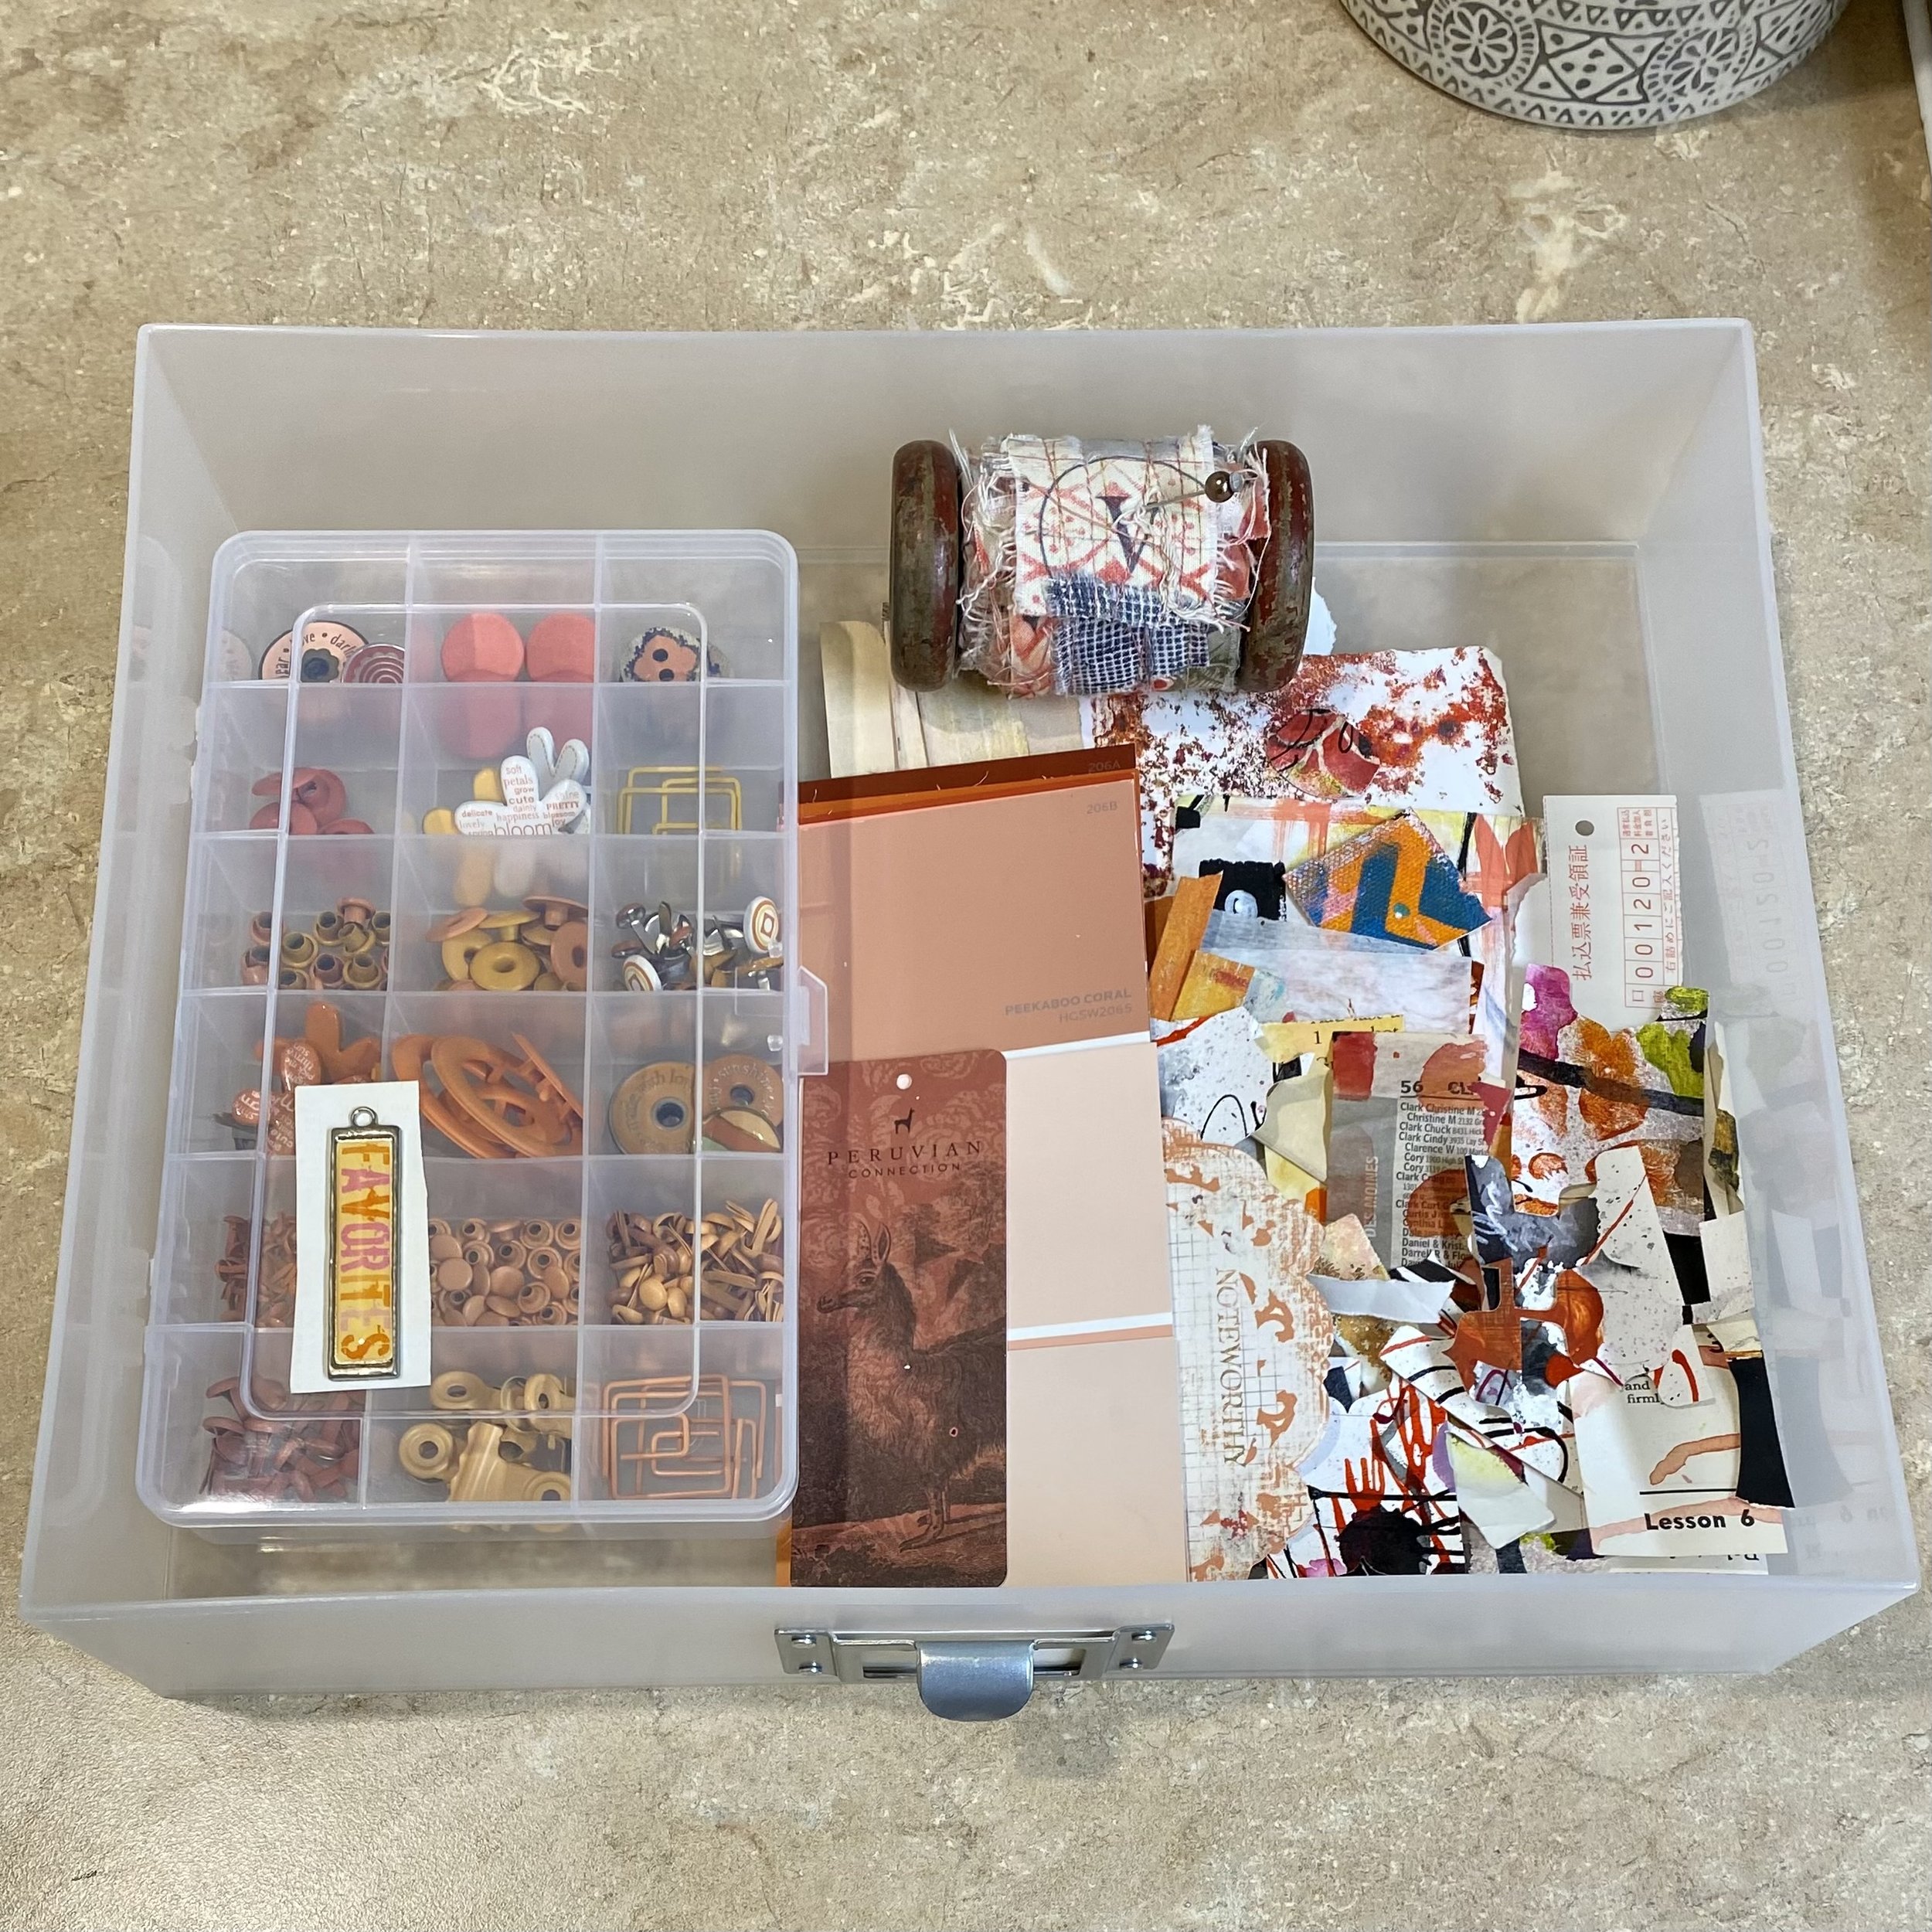
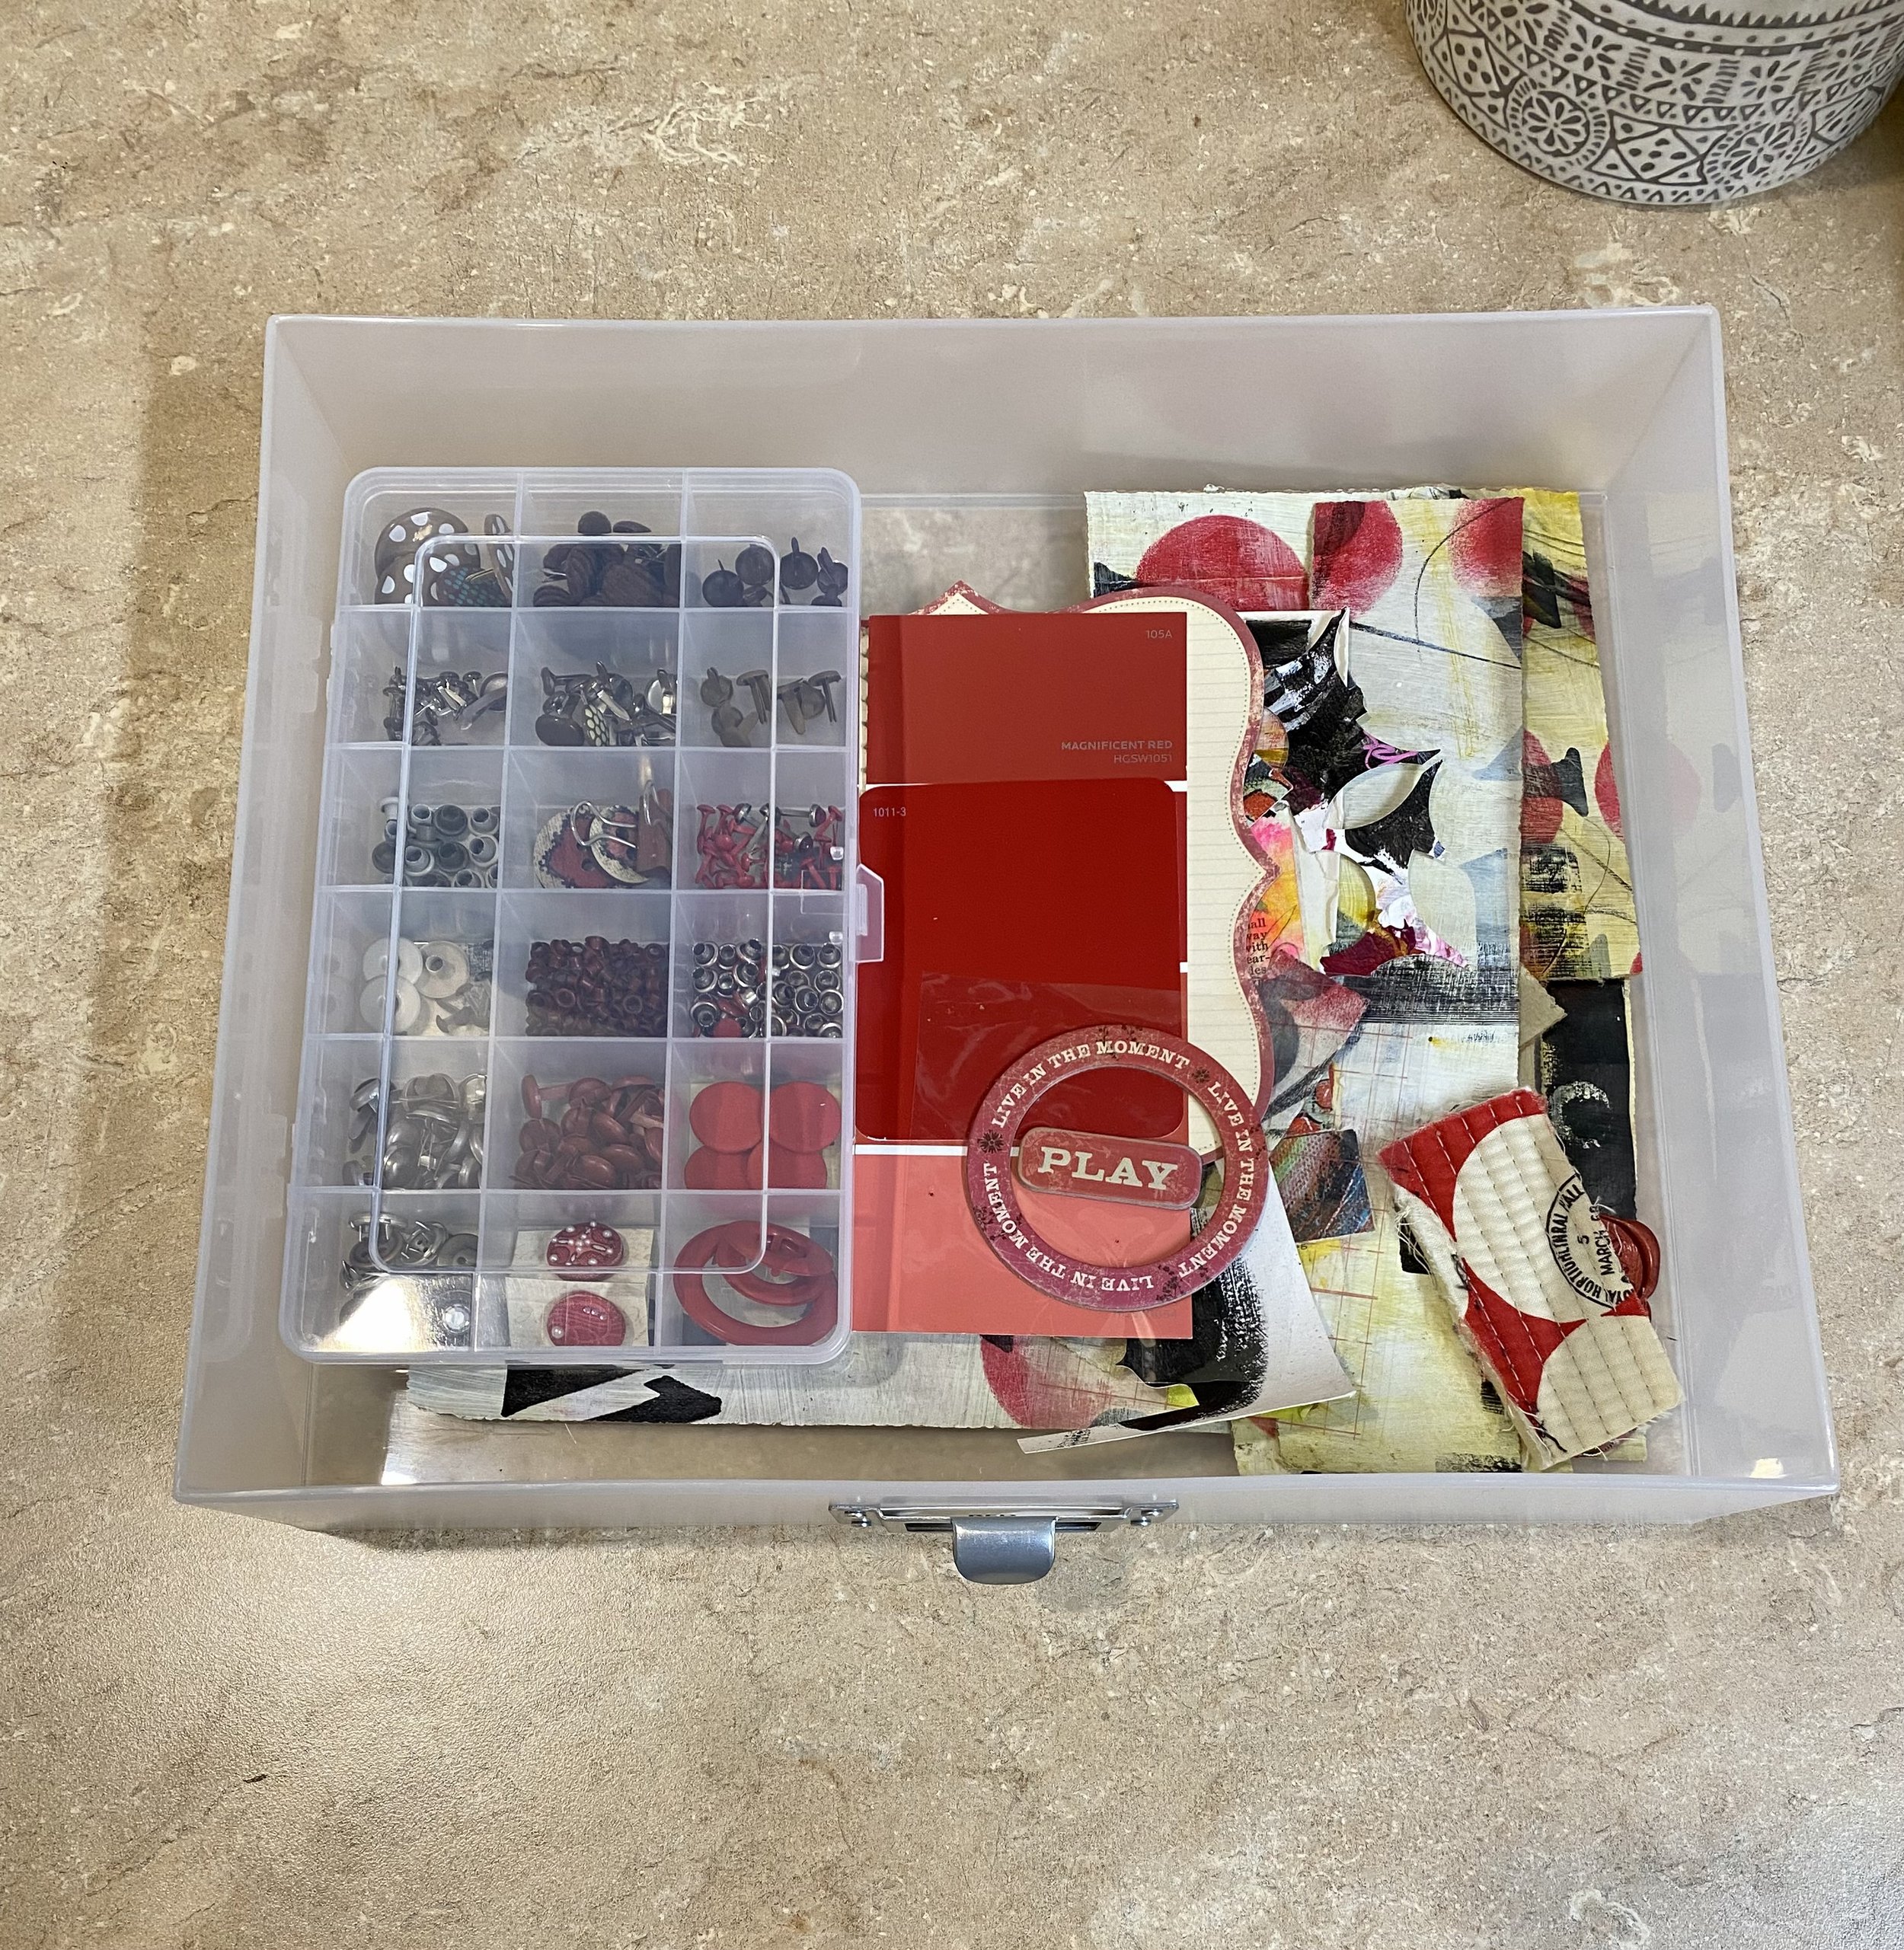
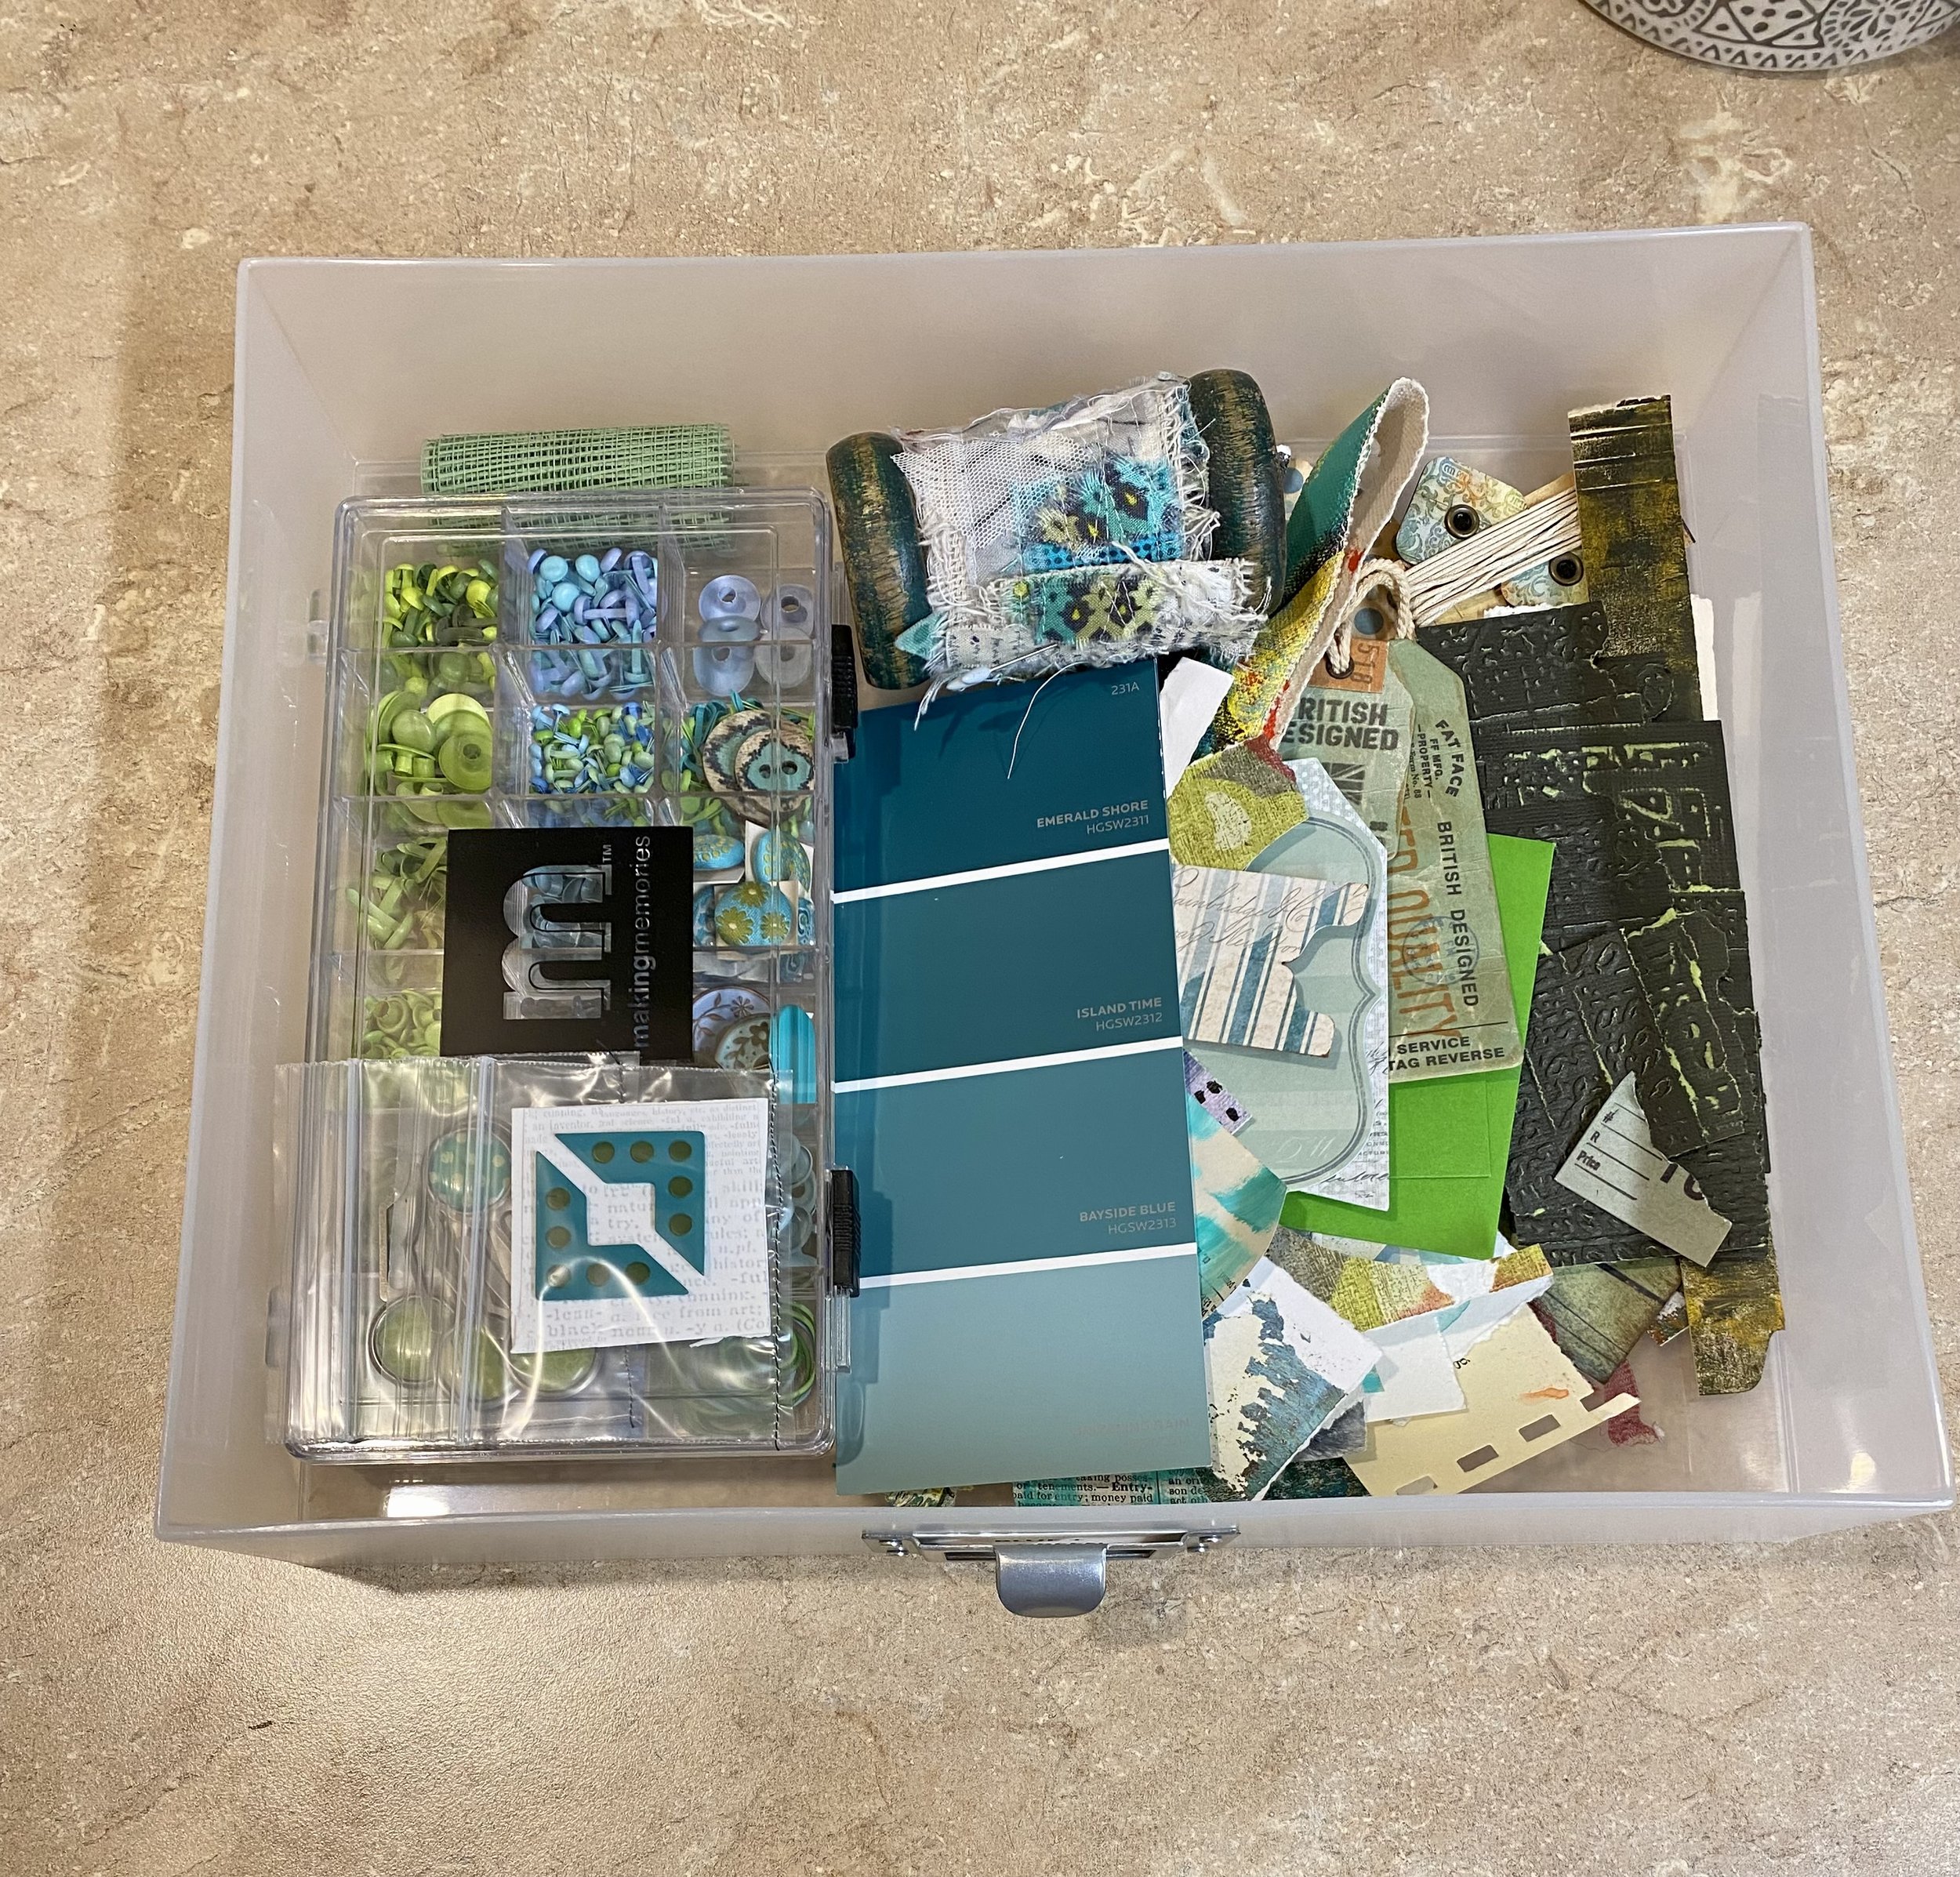
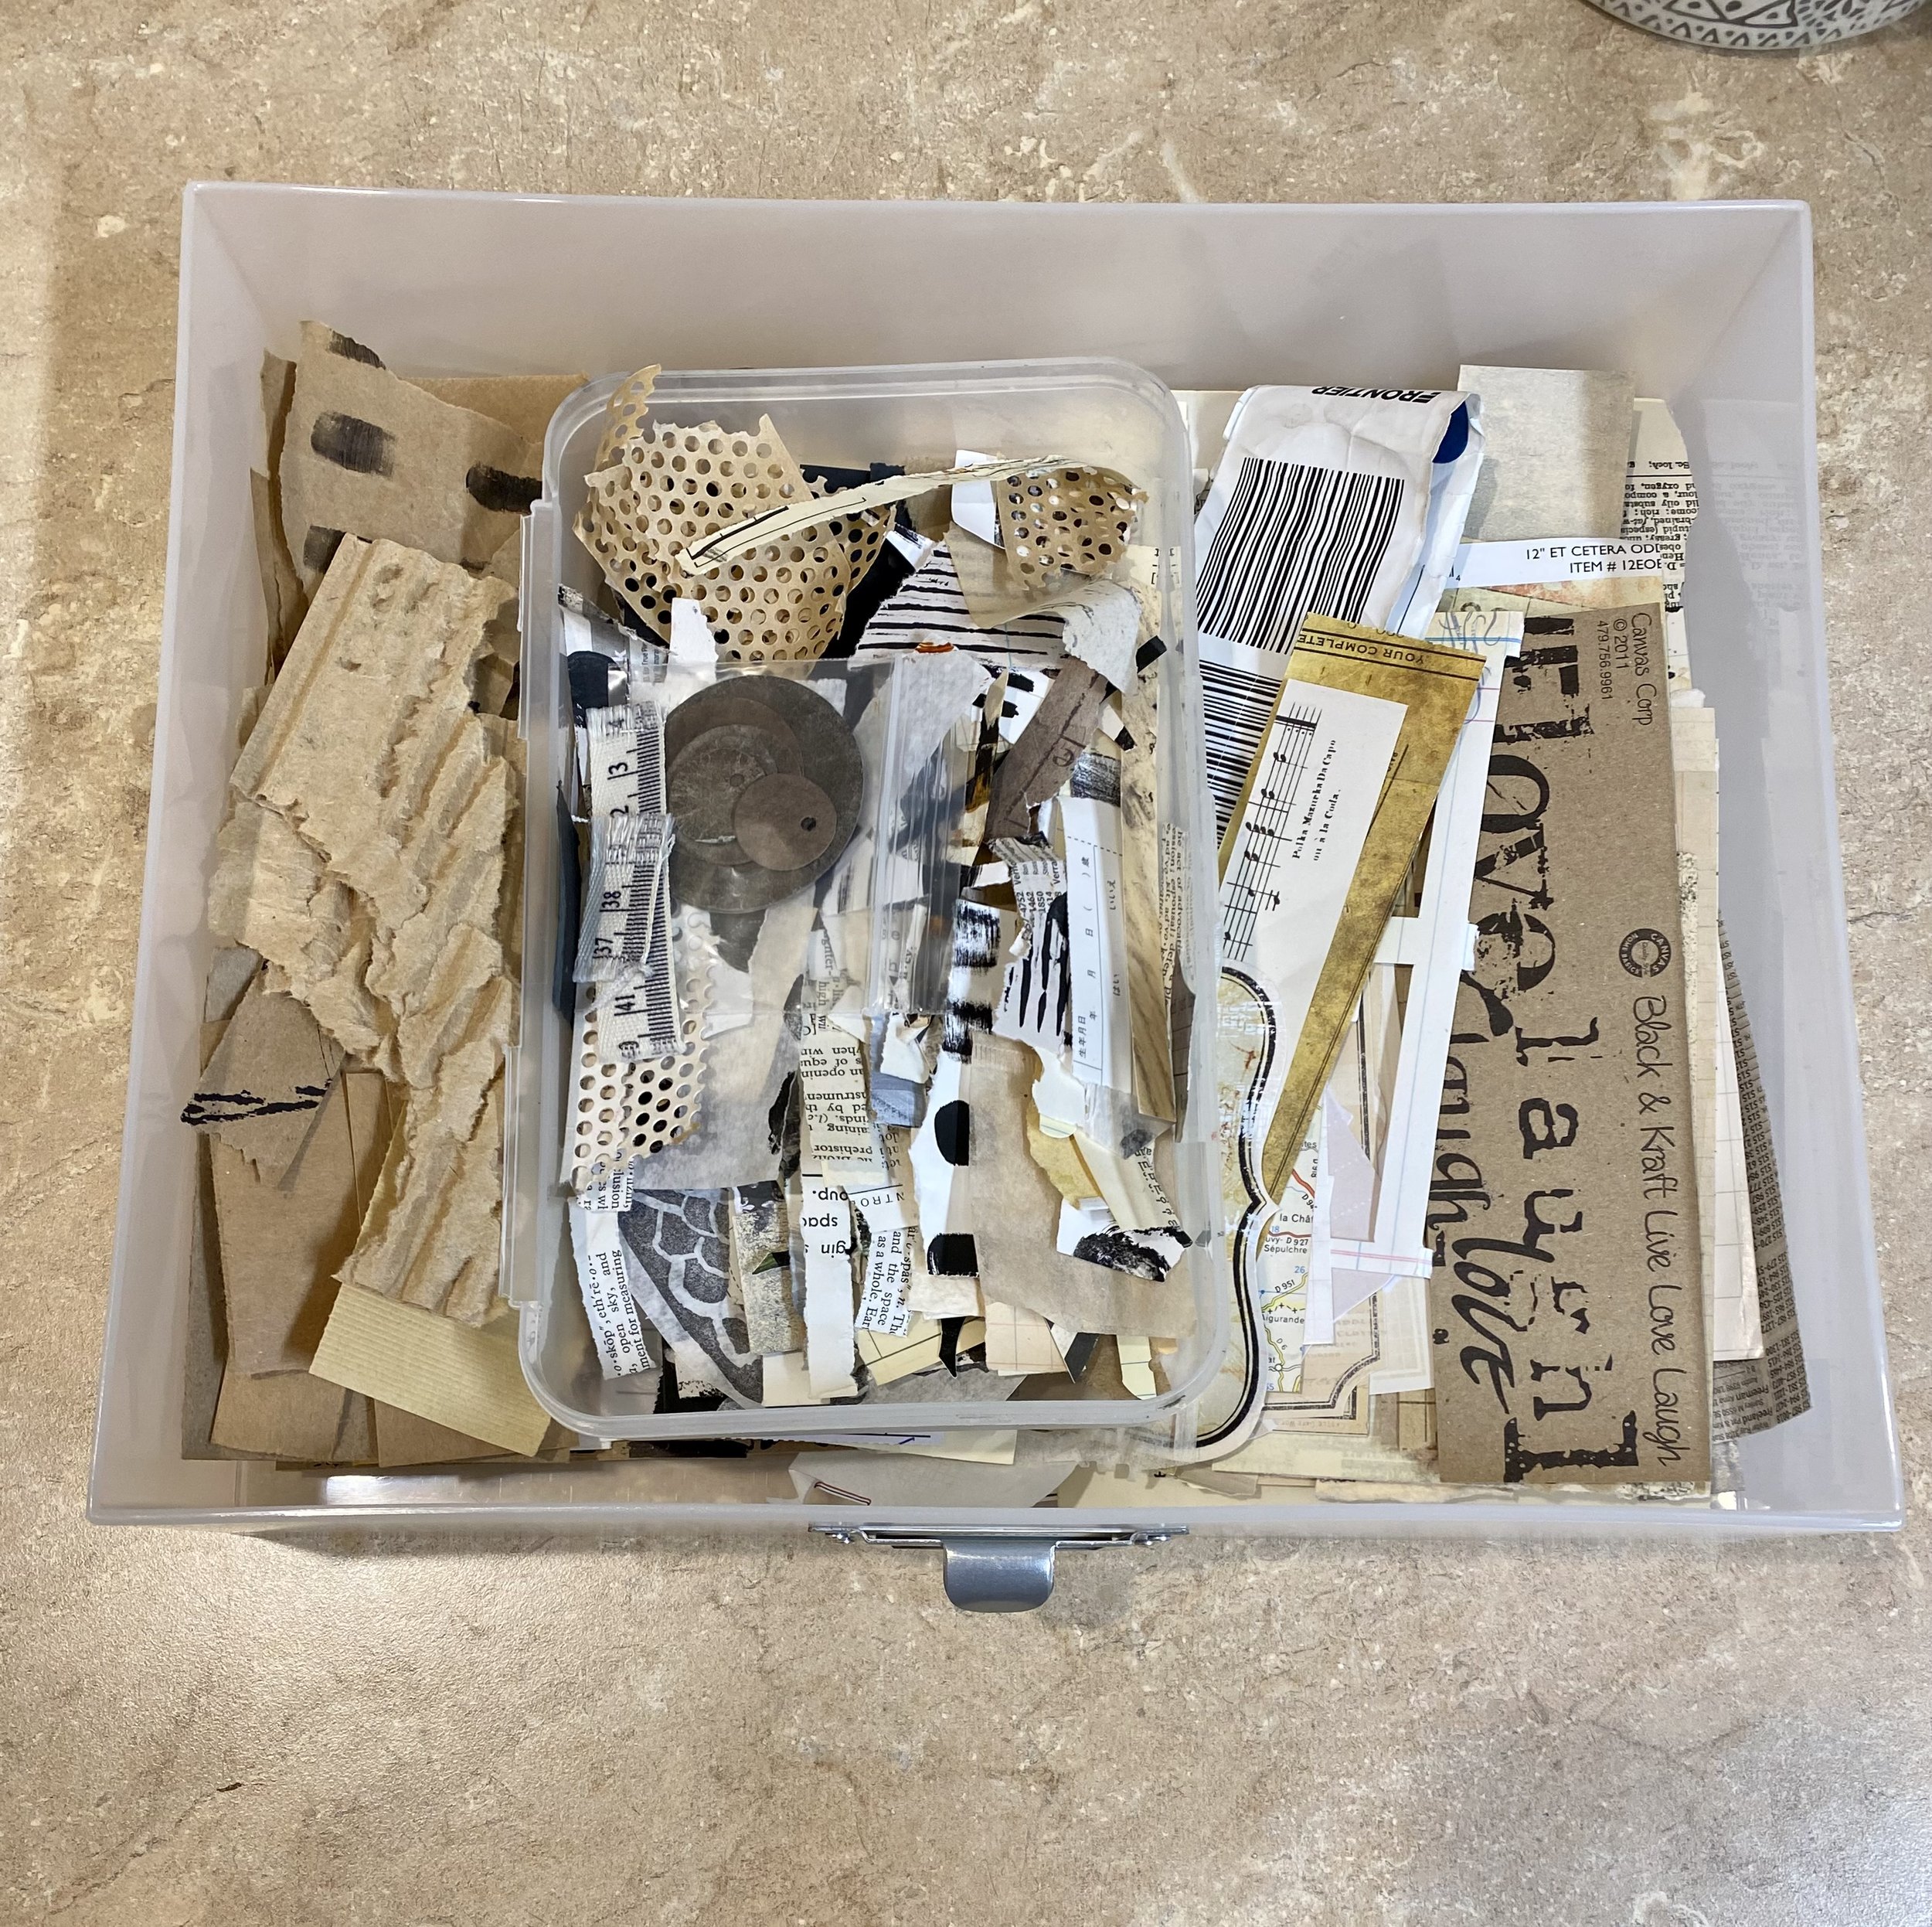
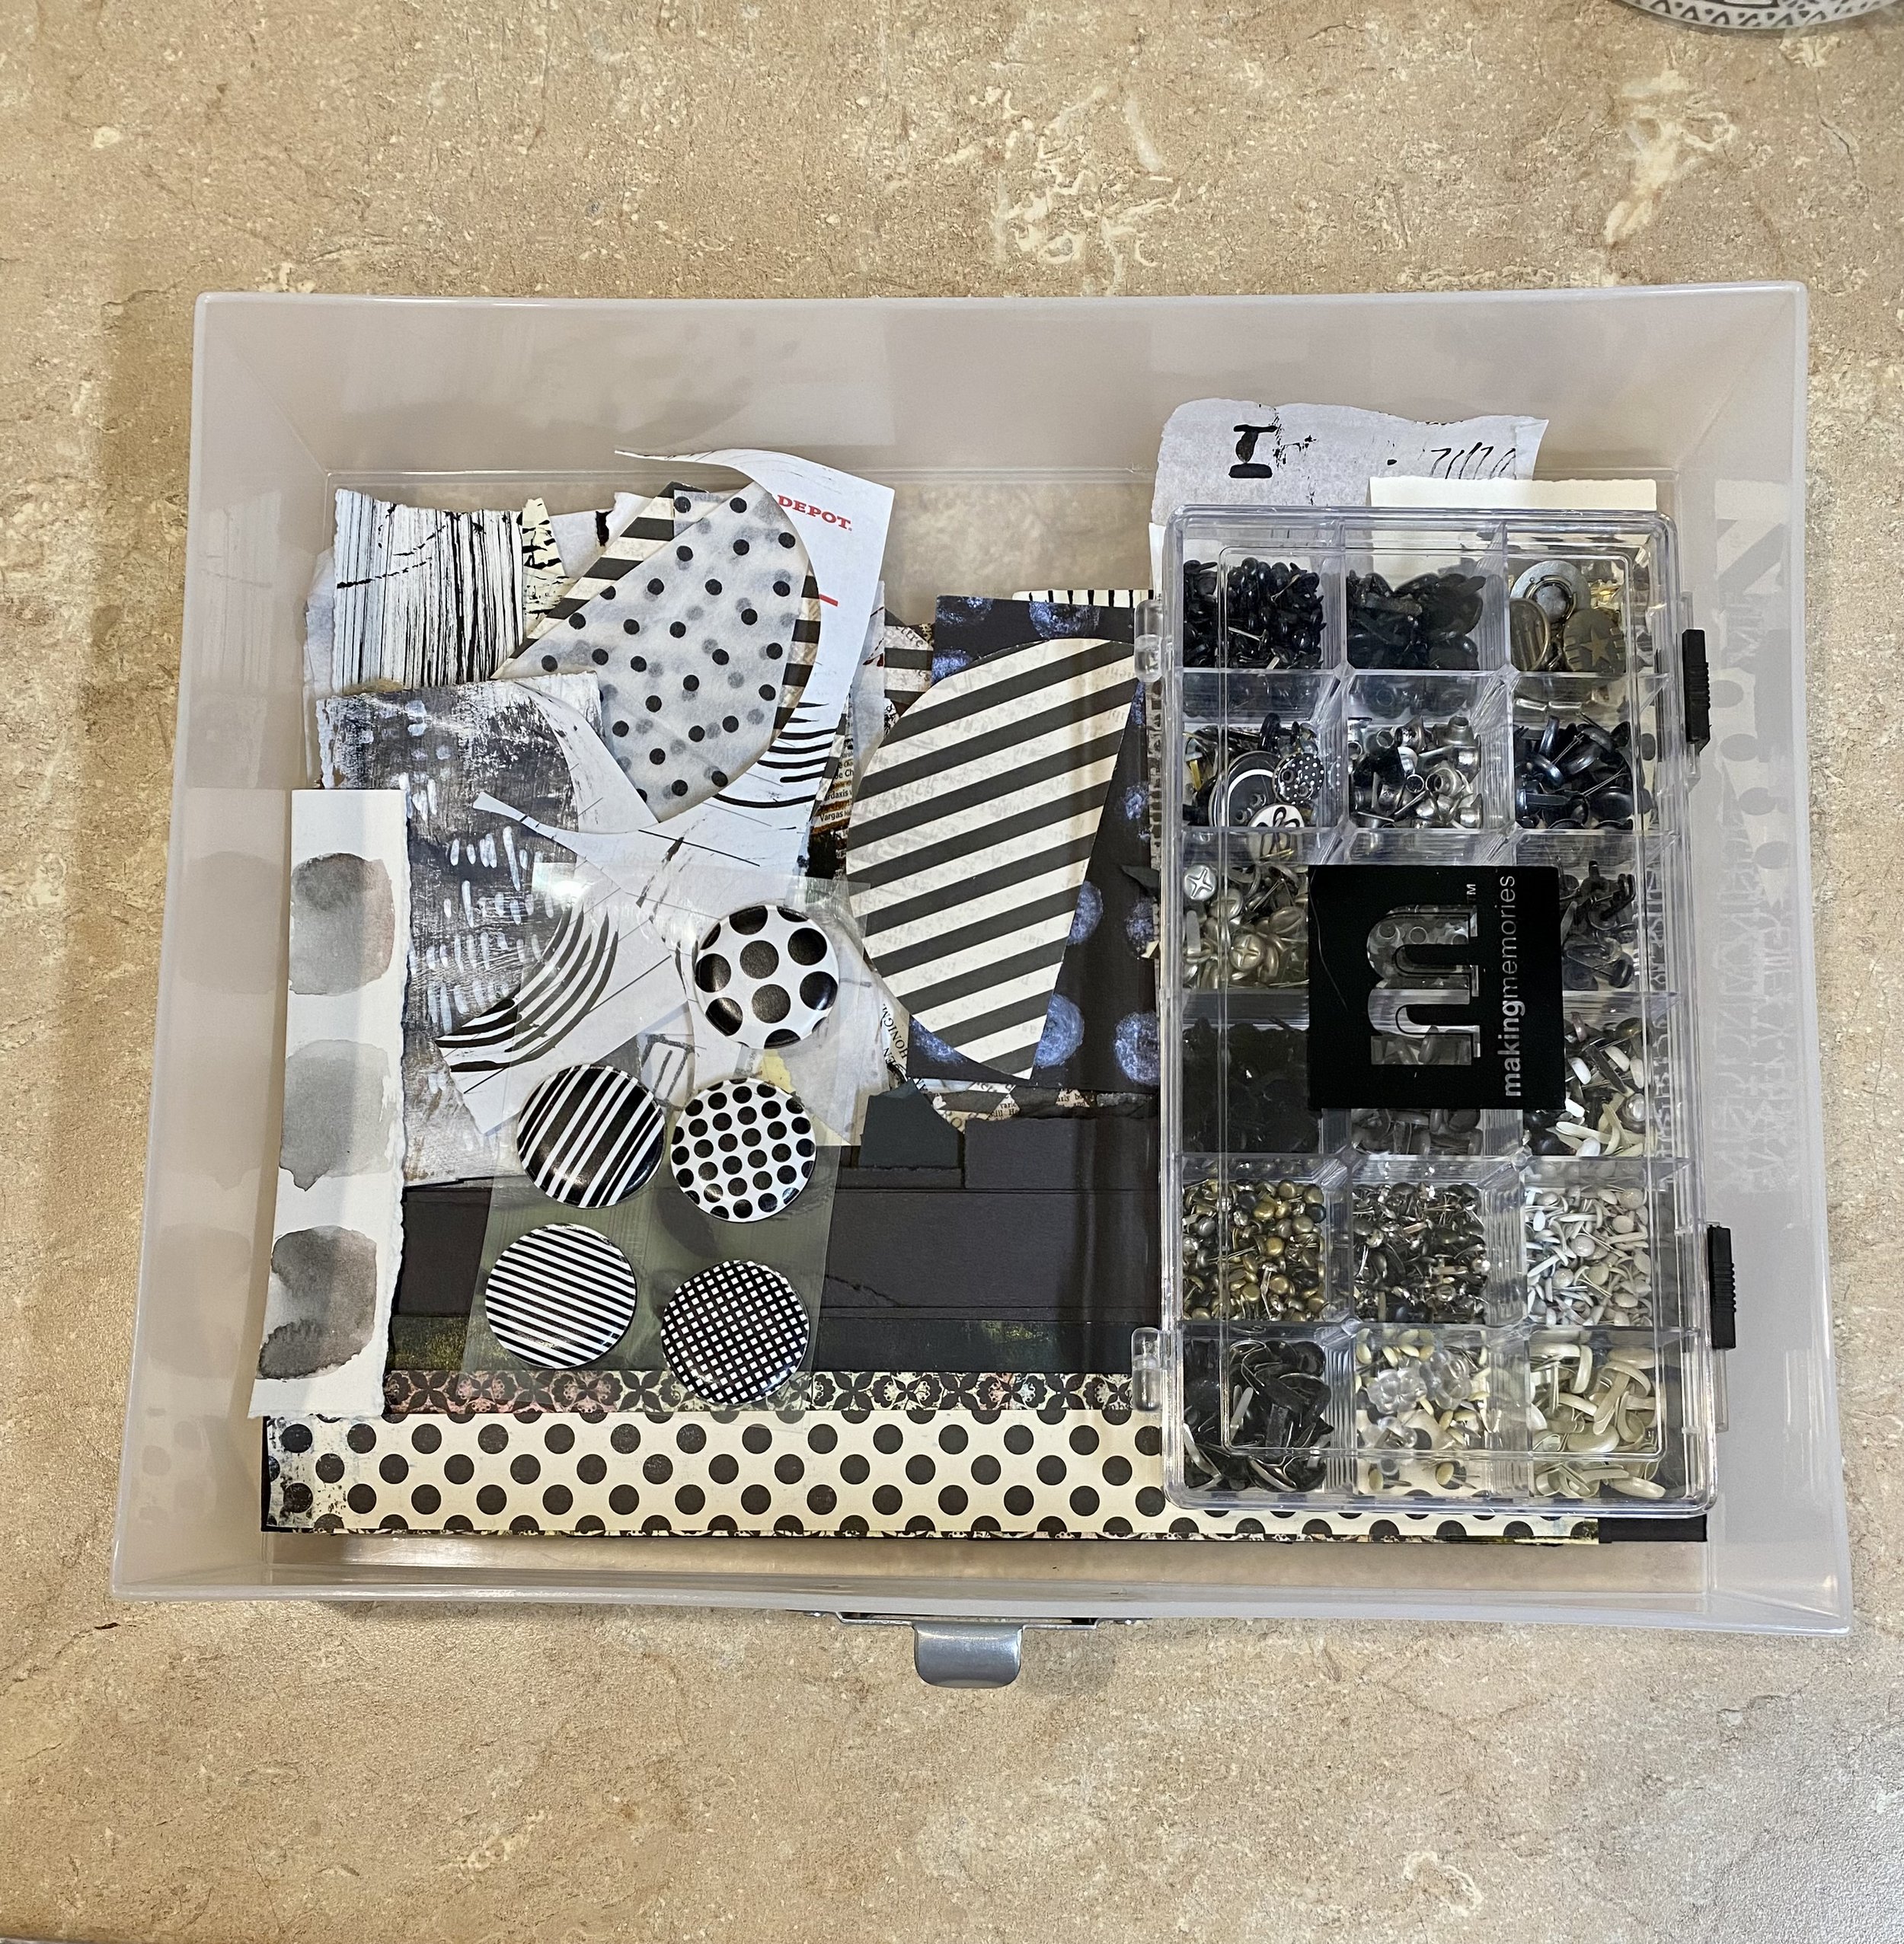
I have an exciting bonus to share with you! As I've been focusing on organizing my art studio, my mom has also been busy with her own studio organization project. I want to show you the clever systems she has implemented for managing her paper scraps and embellishments. While she doesn't have as many scraps and embellishments as I do, her approach is perfect for her needs. She has combined her paper scraps and selected embellishments in a single drawer, sorting them by color. Let's dive in and explore her setup more closely!
Thank you for taking the time to read about how I organize all of my embellishments! I hope you found some helpful tips and ideas that you can use in your own creative endeavors. Stay tuned, in my next article I’ll be dropping more organization inspiration.

